BEST Chewy Chocolate Chip Cookies Recipe
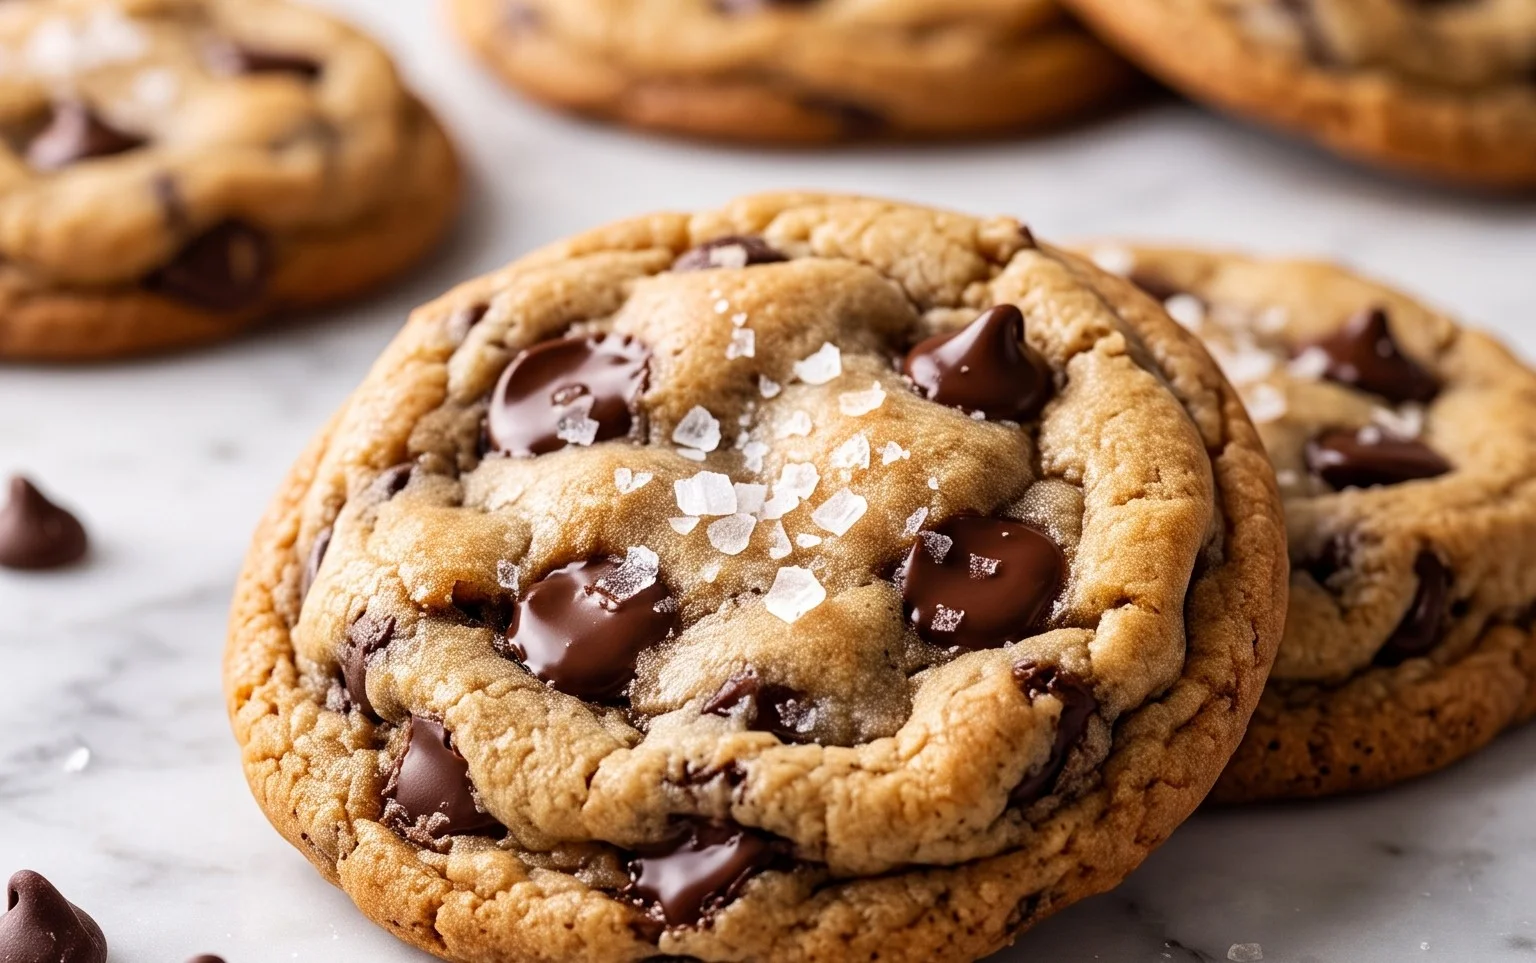
The BEST Chewy Chocolate Chip Cookies are a dream come true for any cookie lover. Forget those dry, crumbly imposters; we’re talking about cookies that boast a perfectly golden exterior, a delightfully soft and chewy interior, and those irresistible pockets of melted chocolate. Who doesn’t adore a warm, homemade chocolate chip cookie? It’s the ultimate comfort food, evoking nostalgic memories of childhood kitchens and shared moments. But what truly sets THESE cookies apart, what makes them *the* BEST chewy chocolate chip cookies, is a carefully orchestrated balance of ingredients and a secret technique that guarantees that coveted chewy texture every single time. Get ready to elevate your cookie game and impress everyone (including yourself) with this foolproof recipe.
Why This Recipe is a Game-Changer
The quest for the ultimate chewy chocolate chip cookie is over!
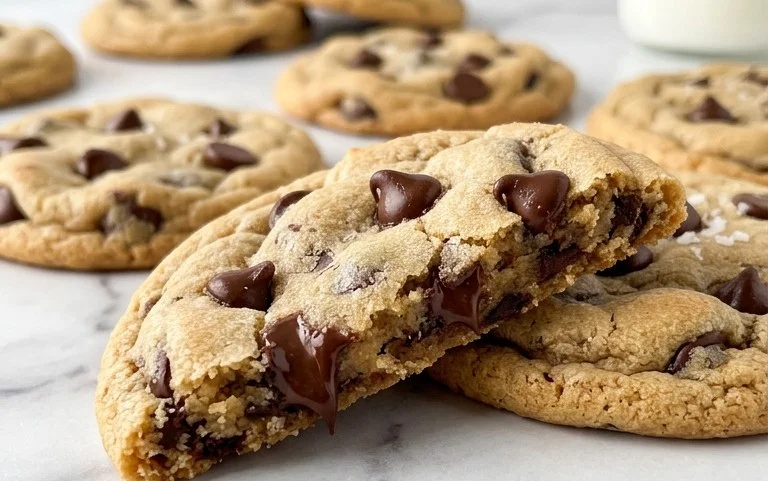
The BEST Chewy Chocolate Chip Cookies
There are chocolate chip cookies, and then there are *chocolate chip cookies*. The kind that are perfectly chewy in the center, slightly crisp on the edges, and absolutely bursting with melty chocolate. The kind that disappear from the plate faster than you can say “more, please.” I’ve spent years perfecting this recipe, and I can confidently say, these are it. These are THE BEST chewy chocolate chip cookies. Forget those flat, crunchy imposters – these are the real deal, guaranteed to bring a smile to your face and a warmth to your heart. The secret lies in a few key ingredients and a little bit of technique that ensures that irresistible chewiness.
Ingredients:
- 2 ⅓ cups all-purpose flour
- 1 teaspoon baking soda
- 1 tablespoon corn starch
- ½ teaspoon salt
- 1 tablespoon vanilla extract
- ¾ cup unsalted butter (melted and cooled just until opaque)
- 1 cup brown sugar
- ½ cup granulated sugar
- 1 egg (room temperature)
- 1 egg yolk (room temperature)
- 1 ½ cups semi-sweet chocolate chips
The Magic Behind the Chew
Before we dive into the mixing, let’s talk about what makes these cookies so special. The melted butter is a game-changer for chewiness. When butter is melted, it creates a more liquid fat base, which leads to a chewier cookie structure compared to creaming softened butter. Cooling it until it’s just opaque prevents it from scrambling the eggs. Corn starch is another crucial player, acting as a tenderizer and further contributing to that delightful chew. And of course, the perfect ratio of brown sugar to granulated sugar is key. Brown sugar, with its molasses content, adds moisture and that characteristic chewy texture.
Crafting the Perfect Dough
1. Combine the Dry Ingredients: In a medium bowl, whisk together the all-purpose flour, baking soda, corn starch, and salt. Whisking these together ensures that the leavening agents and salt are evenly distributed throughout the flour, which helps with consistent cookie rise and flavor. Set this bowl aside for now.
2. Melt and Cool the Butter: In a large microwave-safe bowl or a saucepan over low heat, melt the unsalted butter. Be careful not to brown it; you want it completely liquid and then let it cool for about 5-10 minutes until it’s no longer hot to the touch and just looks opaque. This cooling step is essential so you don’t cook the eggs when you add them.
3. Cream the Sugars and Wet Ingredients: To the cooled melted butter in the large bowl, add the brown sugar and granulated sugar. Whisk them together until well combined. This is where you’ll then add the room temperature egg and the egg yolk, along with the vanilla extract. Whisk vigorously until the mixture is smooth and slightly lighter in color. Using room temperature eggs helps them emulsify better with the fats, creating a more cohesive dough and contributing to a better texture.
4. Bring it All Together: Gradually add the dry ingredients from step 1 to the wet ingredients in the large bowl. Mix with a spatula or a wooden spoon until *just* combined. It’s important not to overmix the dough at this stage. Overmixing can develop the gluten in the flour too much, resulting in tougher cookies. Stop mixing as soon as you no longer see streaks of dry flour. A few small lumps of flour are okay.
5. Fold in the Chocolate: Now for the best part! Gently fold in the semi-sweet chocolate chips. Use a spatula and ensure they are evenly distributed throughout the dough. I like to use a mix of semi-sweet chips for a classic flavor, but feel free to experiment with dark chocolate chips or even a combination of different types. This dough is pretty forgiving, but I still recommend not overmixing here either – we want those beautiful chocolate pockets intact.
Baking to Chewy Perfection
Chill the Dough (Highly Recommended!)
This step is often overlooked, but it makes a HUGE difference in cookie texture and spread. Cover the bowl with plastic wrap and refrigerate the dough for at least 30 minutes, or ideally 2-24 hours. This chilling period allows the flour to hydrate fully, the fats to solidify, and the flavors to meld. The result is a cookie that spreads less during baking, leading to that desirable thicker, chewier center.
Bake Those Beauties
Preheat your oven to 375°F (190°C). Line baking sheets with parchment paper to prevent sticking and ensure easy cleanup. Scoop rounded tablespoons of the chilled dough onto the prepared baking sheets, leaving about 2 inches between each cookie to allow for spreading. For consistently sized cookies, I find using a cookie scoop to be invaluable.
Bake for 9-12 minutes, or until the edges are lightly golden brown and the centers still look slightly soft and underbaked. This is the key to chewiness – they will continue to cook on the hot baking sheet after you remove them from the oven.
Cool Down and Enjoy
Let the cookies cool on the baking sheets for 5-10 minutes before transferring them to a wire rack to cool completely. This allows them to set up properly. Resist the urge to eat them immediately, though I know it’s tough! Once they’ve cooled a bit, sink your teeth into pure, chewy chocolate chip cookie bliss. These are best enjoyed warm, with a glass of milk, of course!
Conclusion:
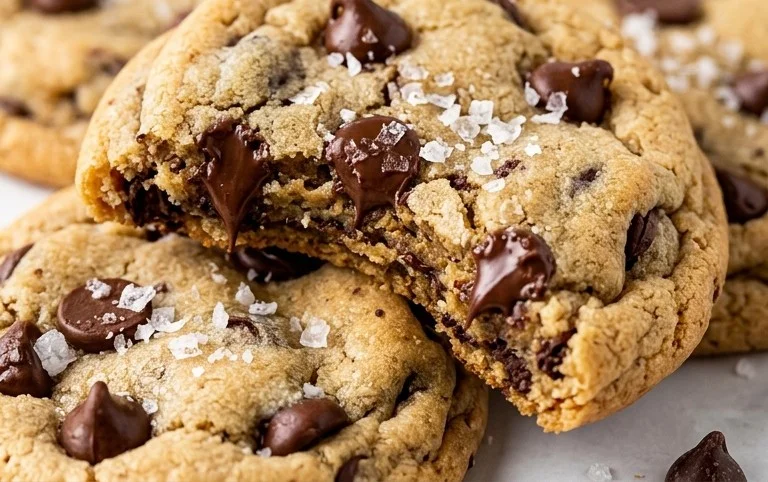
There you have it – the secrets to achieving those perfectly chewy chocolate chip cookies! We’ve covered everything from the importance of chilling your dough to the magic of using a good quality chocolate. This recipe isn’t just about ingredients; it’s about technique and patience, resulting in cookies that are wonderfully soft and gooey in the center with just the right amount of crisp around the edges. They’re truly the BEST chewy chocolate chip cookies you’ll ever bake!
These beauties are divine enjoyed warm, straight from the oven, with a tall glass of cold milk. They also make for fantastic dessert accompaniments to your favorite ice cream flavors, perhaps a rich vanilla bean or a decadent salted caramel. For a delightful twist, try adding a sprinkle of sea salt on top before baking to enhance the chocolate’s flavor, or even a handful of chopped pecans or walnuts for added crunch.
I wholeheartedly encourage you to give this recipe a try. Don’t be intimidated by the chilling time; it’s a crucial step that makes all the difference. Baking these cookies is a rewarding experience, and the delicious outcome is absolutely worth it. Happy baking!
Frequently Asked Questions:
Why are my cookies not chewy enough?
Several factors can contribute to cookies lacking chewiness. Ensure you’re not overbaking them; they should look slightly underdone in the center when you remove them from the oven, as they will continue to bake as they cool. Using too much flour can also make them cakey rather than chewy. Make sure you’re measuring your flour correctly by spooning it into the measuring cup and leveling it off, rather than scooping directly from the bag.
Can I freeze the dough?
Absolutely! This dough freezes beautifully. Portion it into balls and place them on a parchment-lined baking sheet, then freeze until solid. Once frozen, transfer the dough balls to an airtight container or freezer bag. You can bake them directly from frozen, adding a few extra minutes to the baking time. This is a fantastic way to have homemade chewy chocolate chip cookies ready whenever the craving strikes!
The BEST Chewy Chocolate Chip Cookies
Experience the ultimate chewy chocolate chip cookie with this easy-to-follow recipe, perfect for any occasion.
Ingredients
-
2 ⅓ cups all-purpose flour
-
1 teaspoon baking soda
-
1 tablespoon corn starch
-
½ teaspoon salt
-
1 tablespoon vanilla extract
-
¾ cup unsalted butter, melted and cooled just until opaque
-
1 cup brown sugar
-
½ cup granulated sugar
-
1 egg, room temperature
-
1 egg yolk, room temperature
-
1 ½ cups semi-sweet chocolate chips
Instructions
-
Step 1
In a medium bowl, whisk together the flour, baking soda, corn starch, and salt. Set aside. -
Step 2
In a large bowl, combine the melted and cooled butter with the brown sugar and granulated sugar. Mix until well combined. -
Step 3
Add the room temperature egg, egg yolk, and vanilla extract to the wet ingredients. Beat until smooth and well incorporated. -
Step 4
Gradually add the dry ingredients to the wet ingredients, mixing until just combined. Do not overmix. -
Step 5
Fold in the semi-sweet chocolate chips. -
Step 6
Drop rounded tablespoons of dough onto a baking sheet lined with parchment paper, spacing them about 2 inches apart. -
Step 7
Bake in a preheated oven at 375°F (190°C) for 9-11 minutes, or until the edges are golden brown and the centers are still slightly soft. -
Step 8
Let the cookies cool on the baking sheet for a few minutes before transferring them to a wire rack to cool completely.
Important Information
Nutrition Facts (Per Serving)
It is important to consider this information as approximate and not to use it as definitive health advice.
Allergy Information
Please check ingredients for potential allergens and consult a health professional if in doubt.