Best Homemade Salsa Recipe- Fresh Zesty Flavor
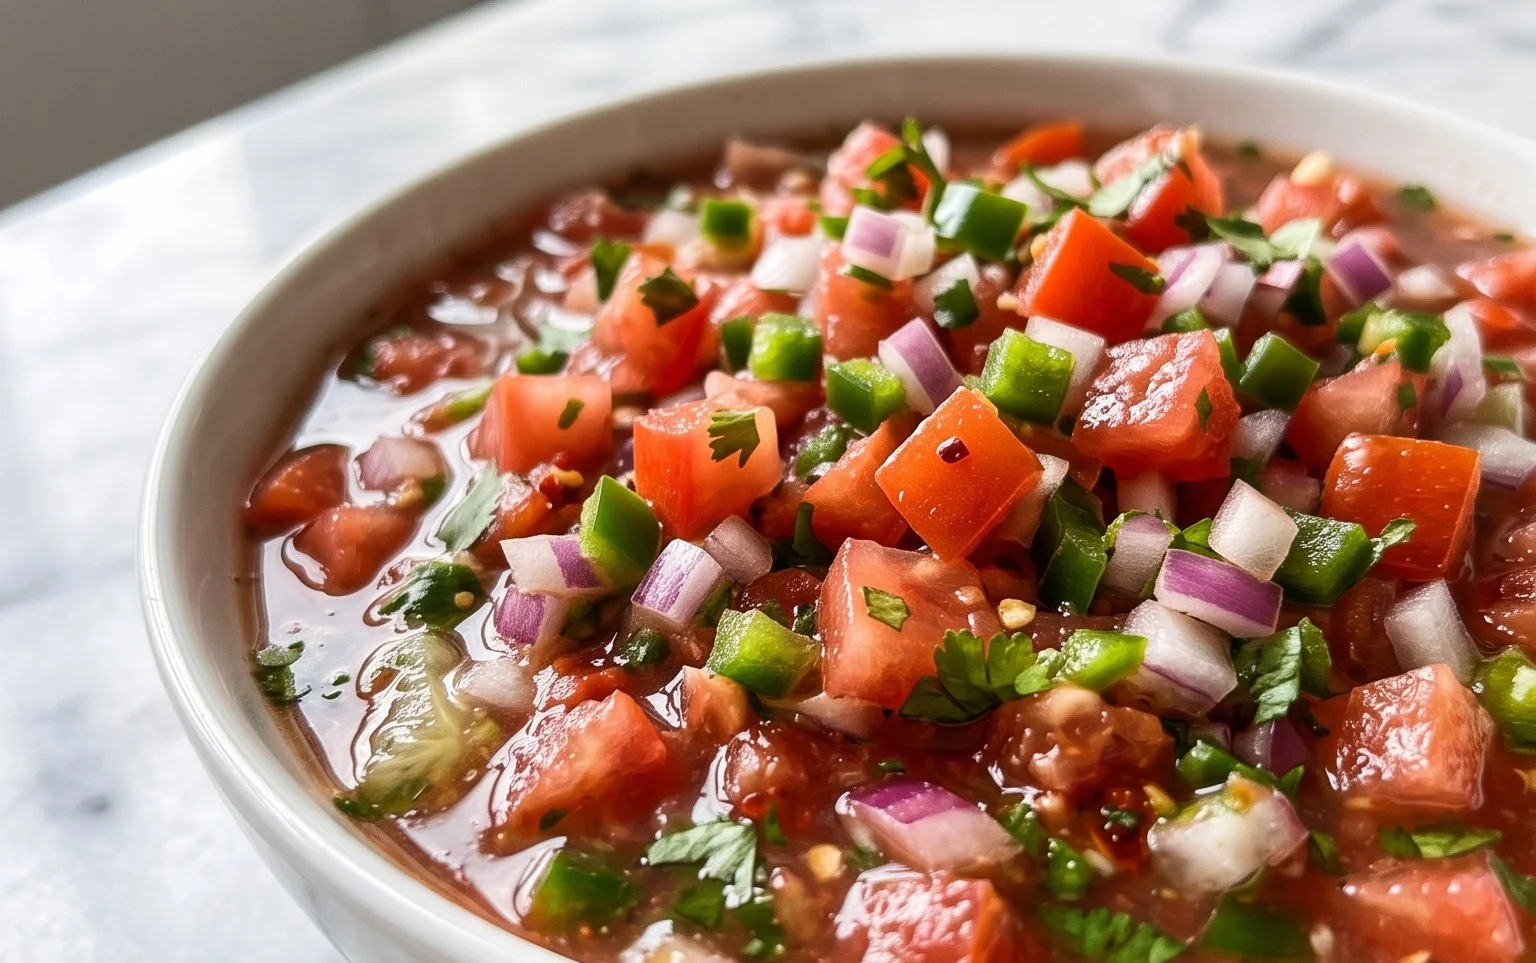
The Best Homemade Salsa isn’t just a condiment; it’s a vibrant celebration in a bowl. Forget those bland, store-bought versions that lack soul and punch. We’re talking about a salsa so fresh, so flavorful, it will redefine your taco nights, elevate your snack game, and have your friends begging for the recipe. Why do we all adore a truly exceptional salsa? It’s the perfect balance of sweet, tangy, and spicy, a symphony of fresh ingredients that burst with life. What makes this particular recipe stand out from the crowd? It’s about coaxing out the natural sweetness of ripe tomatoes, the zesty kick of jalapeños, and the aromatic allure of cilantro and lime, all harmonizing to create The Best Homemade Salsa you’ll ever taste. Get ready to impress yourself and everyone you share it with.
The Best Homemade Salsa
There’s something undeniably special about a bowl of fresh, vibrant salsa. While store-bought options can be convenient, they rarely capture the bright, zesty flavor that you can achieve with a little effort in your own kitchen. This recipe for the “Best Homemade Salsa” is my go-to, a perfect balance of sweet, savory, and just the right amount of heat. It’s versatile enough for dipping chips, topping tacos, or even marinating chicken. The secret lies in the quality of the ingredients and a careful approach to preserving that fresh, homemade taste. We’ll be focusing on a salsa that’s not only delicious but also safe for canning, ensuring you can enjoy this taste of summer all year long.
This recipe yields a generous amount, perfect for canning parties or for those who know they’ll be going through it quickly. Don’t be intimidated by the quantities; the process is quite straightforward, and the results are incredibly rewarding.
Ingredients:
- 10 cups peeled, chopped and drained tomatoes (Roma or plum tomatoes work best as they have less water content; drain them well to avoid watery salsa)
- 3 cups chopped onion (yellow or white onions are ideal)
- 1 3/4 cups chopped green bell pepper (adds a fresh, slightly bitter note)
- 5 medium jalapeños, finely chopped, membranes and seeds removed (leave in for extra spice) – about 1 to 1 1/4 cups
- 7 cloves garlic, finely minced (don’t skimp on the garlic, it’s key for flavor!)
- 2 1/2 teaspoons ground cumin (adds a warm, earthy depth)
- 2 1/2 teaspoons coarsely ground black pepper (for a pleasant peppery bite)
- 2 1/2 tablespoons canning or pickling salt (non-iodized salt is best for canning; it helps preserve flavor and texture)
- 1/3 cup chopped fresh cilantro (the quintessential salsa herb!)
- 1/3 cup sugar (optional, depending on sweetness of tomatoes; adds a subtle sweetness to balance acidity)
- 1 1/4 cups apple cider vinegar (provides the necessary acidity for canning and a pleasant tang)
- 16 ounces tomato sauce (NOT optional – necessary for safe canning/proper pH; this acts as a base and ensures the salsa’s acidity is safe for preservation)
- 12 ounces tomato paste (optional if you want a thicker salsa; adds richness and body)
Cooking Instructions
Step 1: Prepare Your Vegetables
The foundation of great salsa is properly prepped produce. Start by peeling your tomatoes. A quick blanch in boiling water for about 30-60 seconds, followed by an ice bath, will make the skins slip right off. Once peeled, chop them into manageable pieces and then, this is crucial for a thick salsa, drain them. You can do this by placing them in a colander set over a bowl for at least 30 minutes, gently pressing them to release excess liquid. While the tomatoes are draining, chop your onions, green bell pepper, and jalapeños. Remember to wear gloves when handling jalapeños if you have sensitive skin, and remove the seeds and membranes for a milder salsa; leave some in if you prefer it spicier! Finally, finely mince your garlic. The finer you mince, the more evenly the garlic flavor will distribute throughout the salsa.
Step 2: Combine and Simmer
In a large, heavy-bottomed pot or Dutch oven, combine the drained, chopped tomatoes, chopped onion, chopped green bell pepper, chopped jalapeños, and minced garlic. Add the ground cumin, coarsely ground black pepper, and canning salt. Stir everything together thoroughly. Now, add the chopped fresh cilantro and the optional sugar, if you’re using it. Give it another good stir. We’re building layers of flavor here, and incorporating all these dry ingredients ensures they’re evenly distributed before we add the wet ingredients.
Step 3: Add Liquids and Simmer Gently
Pour in the apple cider vinegar. This is essential for both flavor and the safety of your salsa if you plan to can it. Next, add the 16 ounces of tomato sauce. This ingredient is non-negotiable for safe canning as it helps to adjust the pH level of the salsa, making it acidic enough to prevent the growth of harmful bacteria. If you prefer a thicker, richer salsa, stir in the 12 ounces of tomato paste at this stage.
Bring the mixture to a boil over medium-high heat, stirring frequently. Once it reaches a boil, reduce the heat to low, cover the pot loosely (to prevent splattering but allow steam to escape), and let it simmer. This simmering period is where the magic happens, allowing the flavors to meld and deepen. Simmer for at least 1 hour, stirring occasionally, ensuring that nothing sticks to the bottom of the pot. The longer it simmers, the more intense the flavors will become. You’ll notice the vegetables softening and the salsa thickening.
Step 4: Final Flavor Check and Adjustments
After an hour of simmering, give your salsa a taste. This is your chance to adjust the seasonings. Does it need a little more salt? More pepper? Perhaps a touch more sugar if your tomatoes were particularly tart? Remember, the flavors will continue to develop as the salsa cools. If you’re canning, it’s important to maintain a safe pH, so avoid adding too much extra liquid or significantly altering the vinegar ratio.
Step 5: Canning or Cooling
If you are canning your salsa, now is the time to prepare your jars and follow proper canning procedures. Ensure your jars, lids, and rings are sterilized. Ladle the hot salsa into the prepared jars, leaving about 1/2 inch of headspace. Wipe the rims clean, place the lids and rings on, and process in a boiling water bath according to your canning guidelines. For immediate consumption, simply let the salsa cool completely on the counter before transferring it to airtight containers and refrigerating. The flavors will be even better after it has had a chance to rest in the refrigerator for at least a few hours, allowing all those wonderful ingredients to truly harmonize. Enjoy this delicious, homemade salsa with all your favorite dishes!
Conclusion:
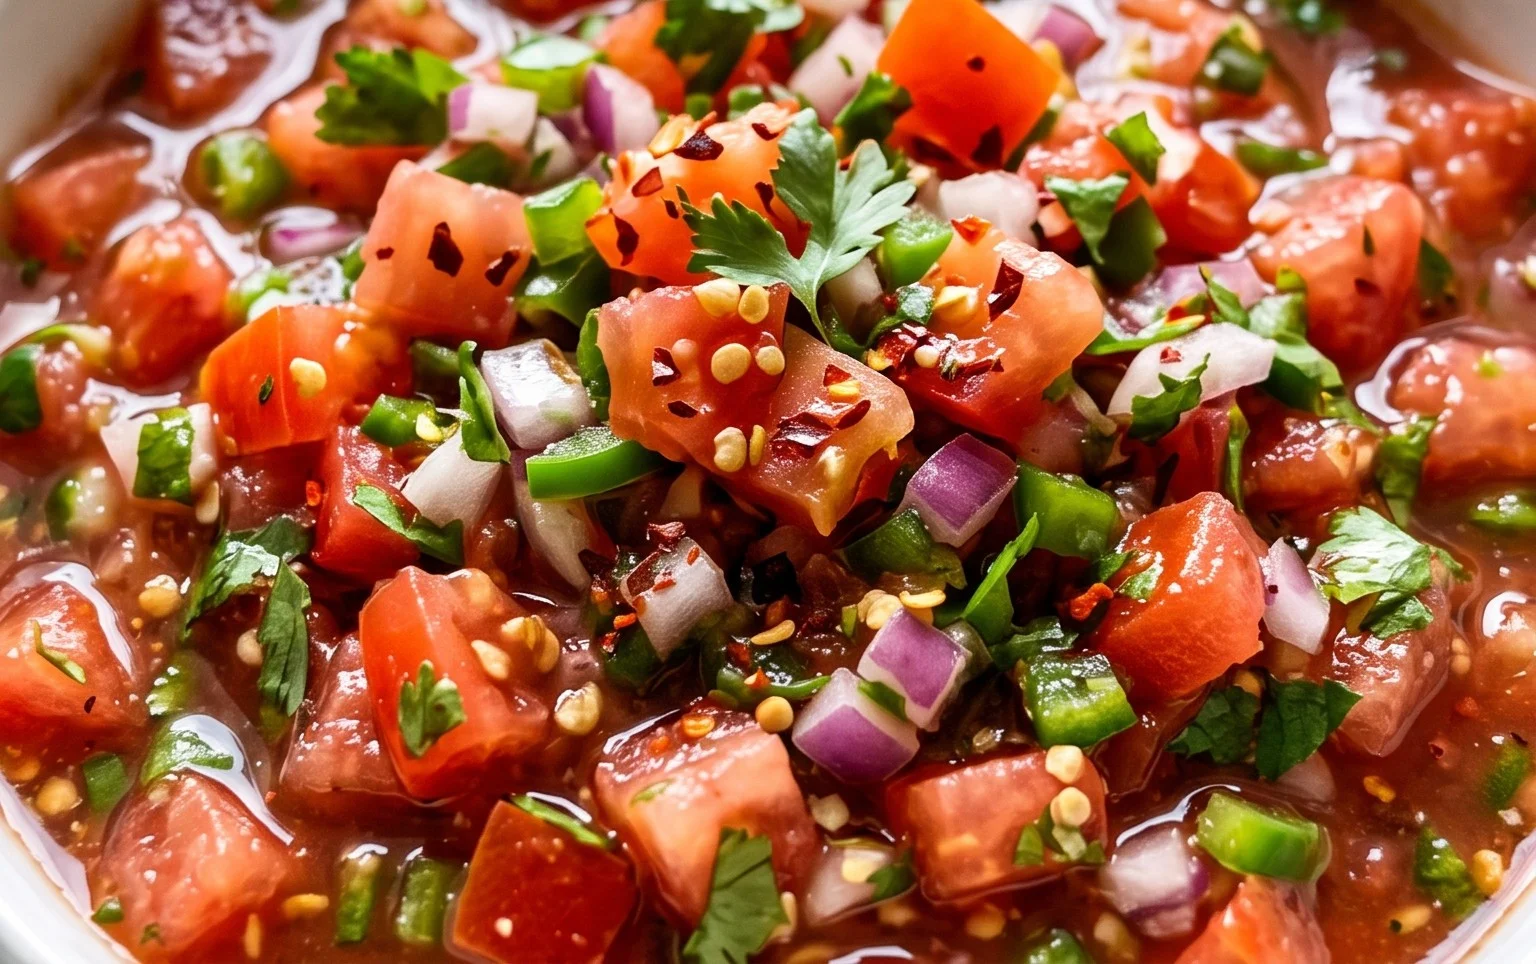
There you have it – the roadmap to crafting the best homemade salsa you’ve ever tasted! This recipe isn’t just about combining ingredients; it’s about unlocking vibrant, fresh flavors that far surpass anything from a jar. The beauty of this salsa lies in its simplicity and the incredible payoff of using fresh, quality produce. Imagine the burst of juicy tomatoes, the zesty kick of lime, and the subtle warmth of jalapeño, all perfectly balanced. It’s incredibly versatile, making it the perfect companion for everything from crunchy tortilla chips to grilled chicken, tacos, and even scrambled eggs. Don’t be afraid to experiment with the ingredients to find your perfect flavor profile. I wholeheartedly encourage you to give this a try – your taste buds will thank you!
Frequently Asked Questions about The Best Homemade Salsa:
Q: How long does homemade salsa last?
When stored properly in an airtight container in the refrigerator, your delicious homemade salsa should stay fresh for about 5-7 days. The acidity from the tomatoes and lime juice acts as a natural preservative, but it’s always best to consume it within the week for optimal flavor and texture.
Q: Can I make this salsa spicier or milder?
Absolutely! To make it spicier, you can leave more of the jalapeño seeds in, add an extra jalapeño, or even incorporate a hotter pepper like a serrano. For a milder salsa, remove all the seeds and membranes from the jalapeño before chopping, or substitute with a poblano pepper for a subtle pepper flavor without much heat.
The Best Homemade Salsa
A flavorful and customizable homemade salsa recipe, perfect for canning or enjoying fresh. Adjust spice and sweetness to your preference.
Ingredients
-
10 cups peeled, chopped and drained tomatoes
-
3 cups chopped onion
-
1 3/4 cups chopped green bell pepper
-
5 medium jalapeños, finely chopped, membranes and seeds removed (leave in for extra spice) – about 1 to 1 1/4 cups
-
7 cloves garlic, finely minced
-
2 1/2 teaspoons ground cumin
-
2 1/2 teaspoons coarsely ground black pepper
-
2 1/2 tablespoons canning or pickling salt
-
1/3 cup chopped fresh cilantro
-
1/3 cup sugar (optional, depending on sweetness of tomatoes)
-
1 1/4 cups apple cider vinegar
-
16 ounces tomato sauce
-
12 ounces tomato paste (optional if you want a thicker salsa)
Instructions
-
Step 1
Combine chopped tomatoes, onion, green bell pepper, jalapeños, and minced garlic in a large, non-reactive pot. Stir well. -
Step 2
Add ground cumin, coarsely ground black pepper, canning or pickling salt, and sugar (if using). Mix thoroughly. -
Step 3
Pour in the apple cider vinegar and tomato sauce. If using tomato paste for a thicker salsa, add it now and stir until well combined. -
Step 4
Bring the mixture to a boil over medium-high heat, then reduce heat to low and simmer for 45 minutes, stirring occasionally. This allows the flavors to meld and reduces the salsa slightly. -
Step 5
Stir in the chopped fresh cilantro during the last 5 minutes of simmering. -
Step 6
For fresh consumption, let cool and store in airtight containers in the refrigerator. For canning, follow proper canning procedures.
Important Information
Nutrition Facts (Per Serving)
It is important to consider this information as approximate and not to use it as definitive health advice.
Allergy Information
Please check ingredients for potential allergens and consult a health professional if in doubt.