Easy Pancake Muffins Grab-and-Go Breakfast Hack
Pancake muffins are a game-changer for busy mornings and lazy brunches alike. Imagine the fluffy, comforting goodness of your favorite pancakes, but transformed into perfectly portioned, portable delights. Who doesn’t love a warm stack of pancakes dripping with syrup? I know I do! But let’s be honest, the time spent flipping and fussing can sometimes feel like a chore, especially when you’re rushing out the door or trying to wrangle a hungry family. That’s where these incredible pancake muffins truly shine. They capture all the beloved flavors and textures of classic pancakes, with the added convenience of being baked in a muffin tin. No more messy batter splatters or unevenly cooked discs! These pancake muffins are incredibly versatile, allowing you to mix in your favorite fruits, chocolate chips, or even a swirl of cinnamon sugar for an extra special treat. They’re the perfect way to enjoy pancake perfection with zero fuss.
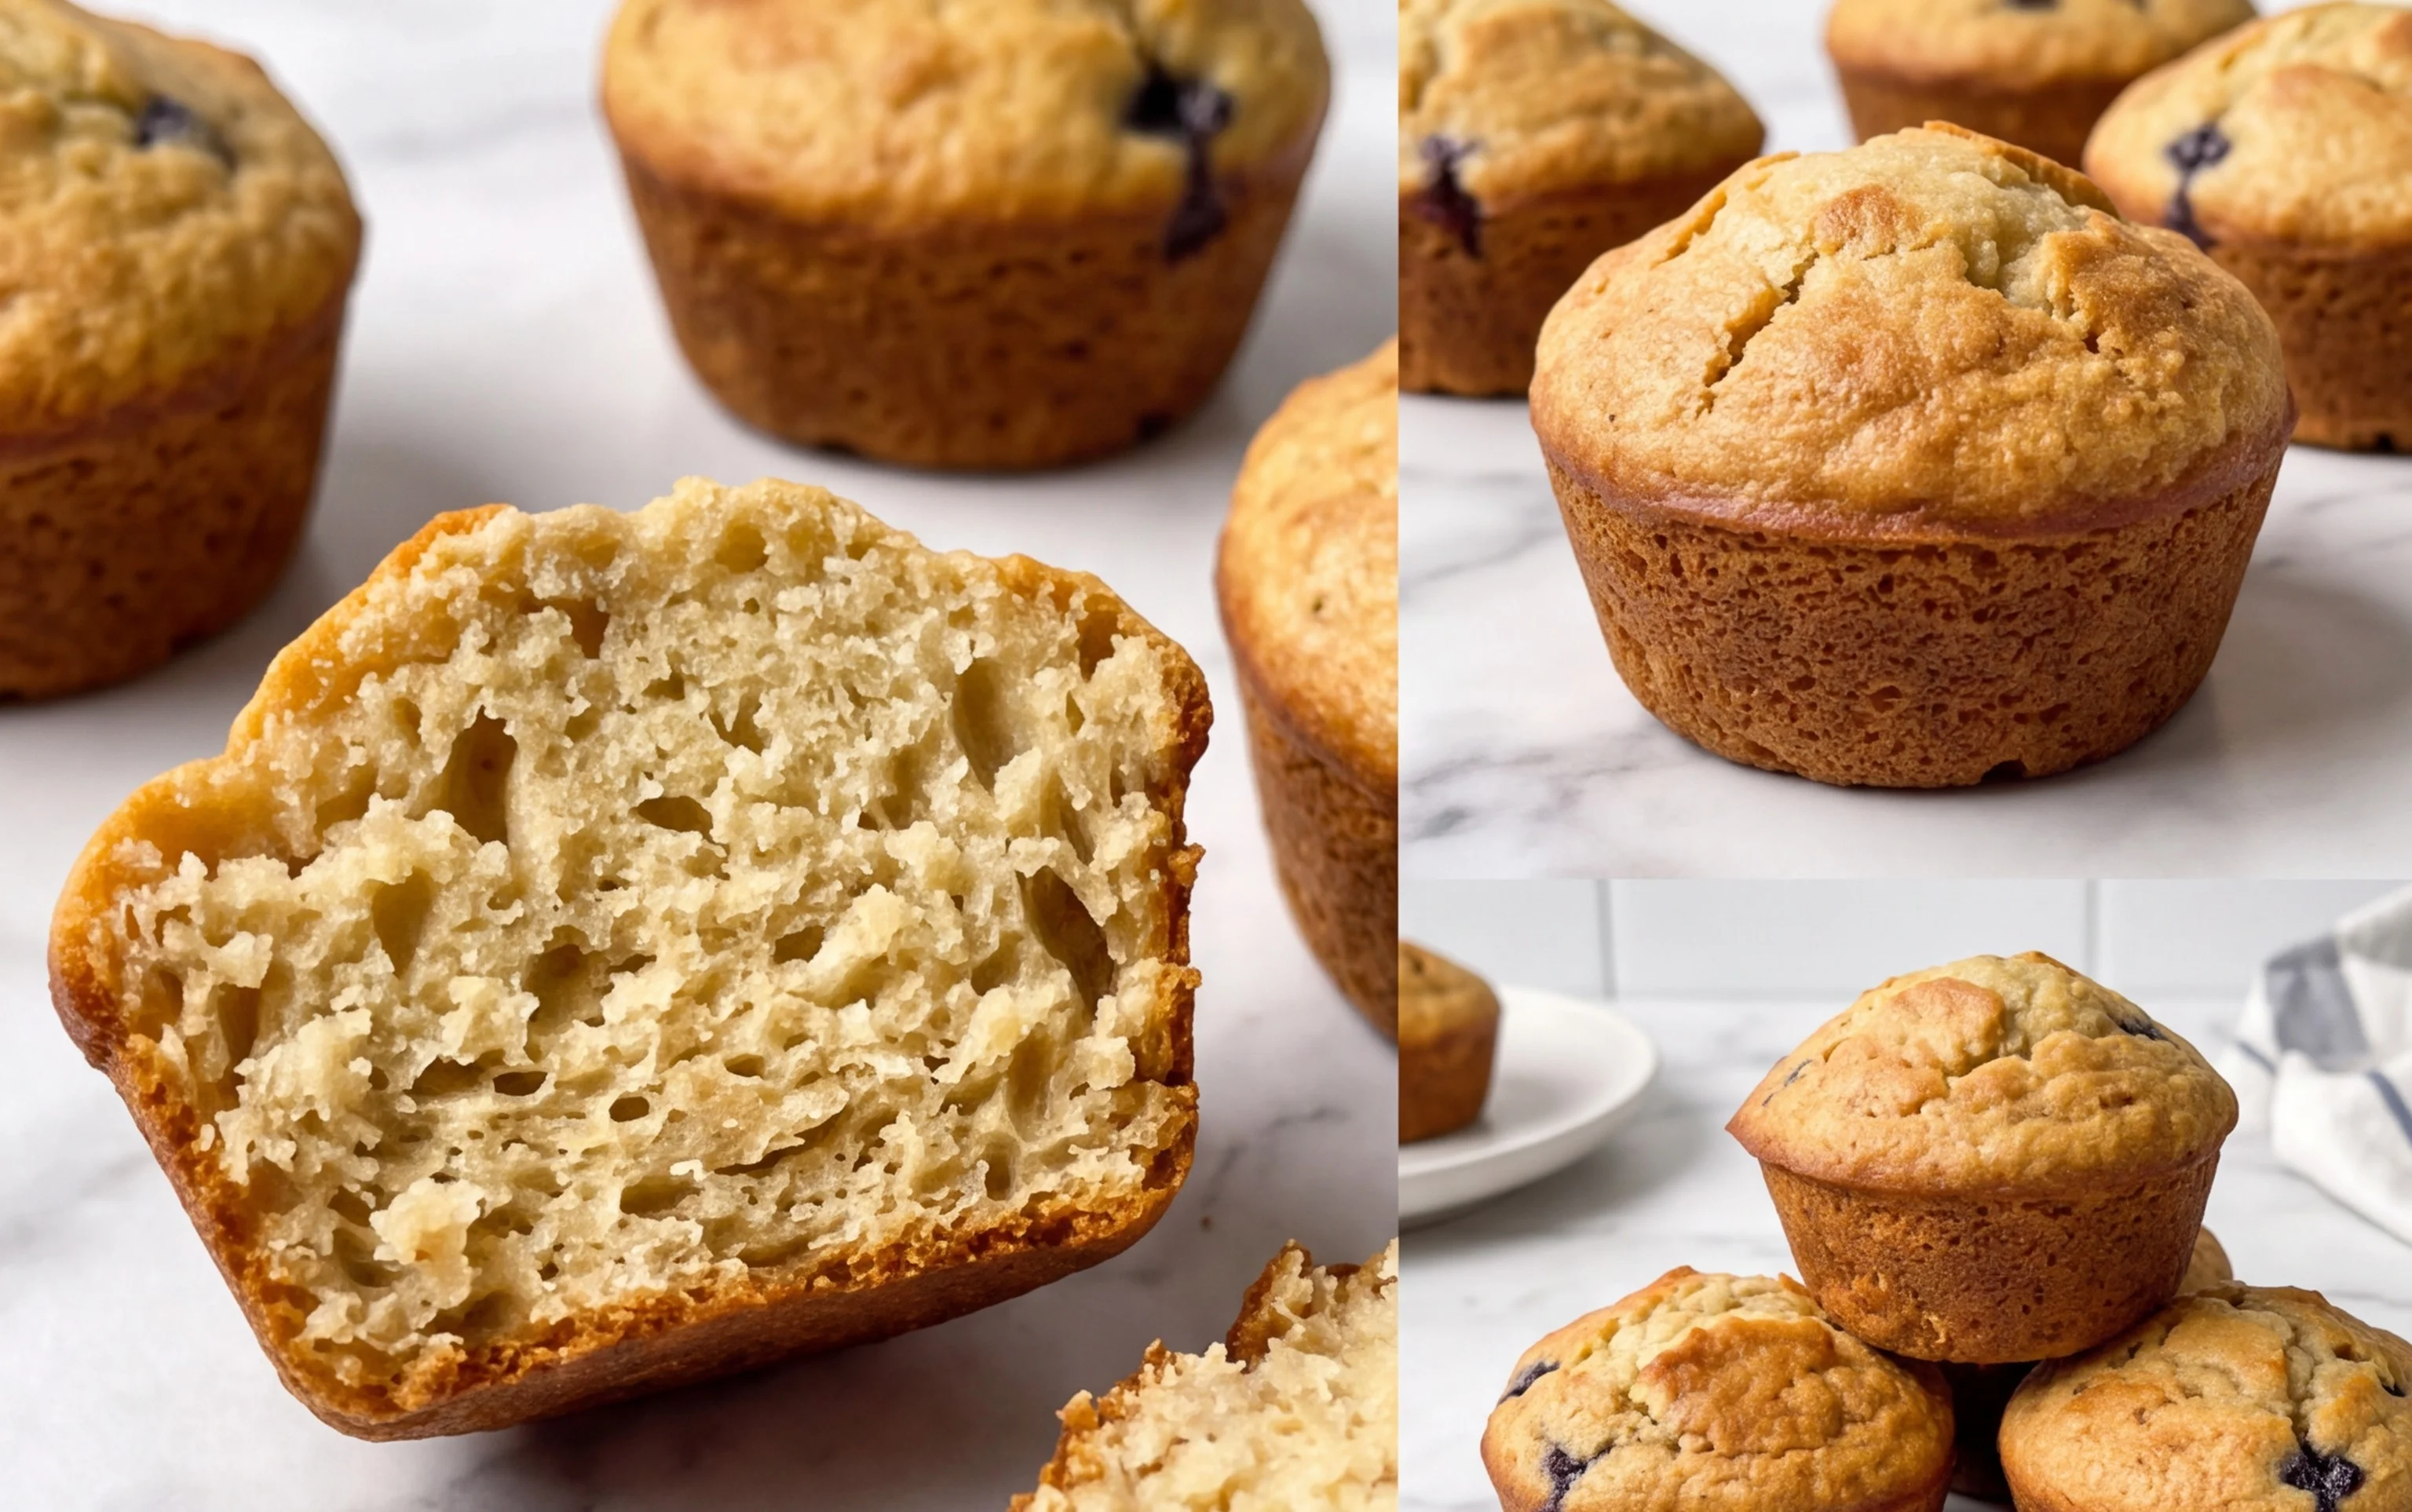
Pancake Muffins: Your New Favorite Breakfast Hack
Forget flipping individual pancakes on a busy morning! These pancake muffins are a game-changer. They combine the fluffy, comforting goodness of pancakes with the grab-and-go convenience of muffins. Imagine: a perfectly portioned, moist, and delicious pancake baked right into a muffin tin. They’re fantastic for meal prep, perfect for school lunches, and an absolute delight for a leisurely weekend brunch without the constant attention required for stovetop pancakes. Plus, they’re incredibly versatile – you can customize them with your favorite mix-ins!
Ingredients:
- 2 ½ cups pancake mix (or Bisquick)
- 2 eggs
- ⅓ cup honey (or maple syrup)
- ½ cup milk
- ¼ cup vegetable oil
Cooking Instructions:
Creating these delightful pancake muffins is a breeze, and the results are incredibly rewarding. We’ll guide you through each step to ensure you achieve perfect, fluffy goodness every single time.
Step 1: Prepare Your Muffin Tin and Preheat the Oven
Before you even think about mixing your batter, the first crucial step is to get your muffin tin ready. Since we’re essentially baking pancakes in muffin cups, a little preparation goes a long way to prevent sticking. You have a couple of excellent options here. You can generously grease each muffin cup with butter or non-stick cooking spray. Make sure you get into all the nooks and crannies. Alternatively, you can use muffin liners, which offer an even easier cleanup. If you choose liners, paper ones are perfectly fine, but silicone liners are a fantastic reusable option that often yields a better release. Once your muffin tin is prepped, preheat your oven to 375°F (190°C). Allowing your oven to reach the correct temperature before you put the muffins in is vital for even baking and a beautiful rise.
Step 2: Whisk Together the Wet Ingredients
In a medium-sized mixing bowl, crack your two eggs. Add the ⅓ cup of honey (or maple syrup – both work beautifully and offer slightly different flavor profiles). Drizzle in the ¼ cup of vegetable oil, which contributes to the tender crumb of our pancake muffins. Now, pour in the ½ cup of milk. Use a whisk to vigorously combine these wet ingredients. You want them to be thoroughly incorporated and slightly frothy. This aeration at the beginning helps to create a lighter texture in the final baked muffins. Don’t rush this step; a good whisking here sets the stage for a superior muffin.
Step 3: Combine Dry and Wet Ingredients
Now it’s time to introduce our dry ingredient: the 2 ½ cups of pancake mix. There are two main schools of thought when combining dry and wet ingredients for baked goods: either add the wet to the dry or the dry to the wet. For pancake muffins, I find it’s easiest and most effective to add the dry pancake mix directly into the bowl with the whisked wet ingredients. Using a spatula or a wooden spoon (avoid an electric mixer at this stage, as overmixing can lead to tough muffins), gently fold the pancake mix into the wet ingredients. Mix *just until combined*. It’s perfectly okay – and even desirable – to have a few lumps in your batter. Overmixing will develop the gluten too much, resulting in a tougher, less fluffy muffin. Think of it like making traditional pancakes; you want a slightly lumpy batter.
Step 4: Add Your Delicious Mix-Ins (Optional, but Recommended!)
This is where you can really get creative and personalize your pancake muffins! This batter is a fantastic base for all sorts of additions. If you’re a chocolate lover, fold in ½ cup of mini chocolate chips. For a fruity twist, stir in ½ cup of fresh or frozen blueberries (if using frozen, don’t thaw them first to prevent bleeding color). You could also add a handful of chopped strawberries, a sprinkle of cinnamon and nutmeg for a warming flavor, or even some finely chopped nuts for a bit of crunch. Gently fold your chosen mix-ins into the batter, again, being careful not to overmix. This is your chance to make these pancake muffins truly your own!
Step 5: Fill and Bake to Golden Perfection
Once your batter is ready (and any delicious mix-ins are incorporated), it’s time to fill your prepared muffin cups. Using a cookie scoop or two spoons, fill each muffin cup about two-thirds to three-quarters full. This will allow the pancake muffins to rise nicely without overflowing. Place the filled muffin tin into your preheated oven. Bake for approximately 18-22 minutes. The baking time can vary slightly depending on your oven and the size of your muffin cups. You’ll know they’re done when they are golden brown on top and a toothpick inserted into the center of a muffin comes out clean. Be careful not to overbake, as this can result in dry muffins.
Step 6: Cool and Enjoy!
Once baked, remove the muffin tin from the oven. Let the pancake muffins cool in the tin for about 5-10 minutes. This allows them to firm up a bit, making them easier to remove. After the initial cooling period, carefully transfer the pancake muffins to a wire rack to cool completely. This is crucial for preventing condensation, which can make the bottoms soggy. Once cooled, they are ready to be enjoyed! Serve them warm with a drizzle of extra honey or maple syrup, a dollop of whipped cream, or your favorite fruit. These pancake muffins store beautifully in an airtight container at room temperature for a couple of days, or in the refrigerator for up to a week. You can also freeze them for longer storage. Simply reheat them gently in a toaster oven or microwave. Happy baking!
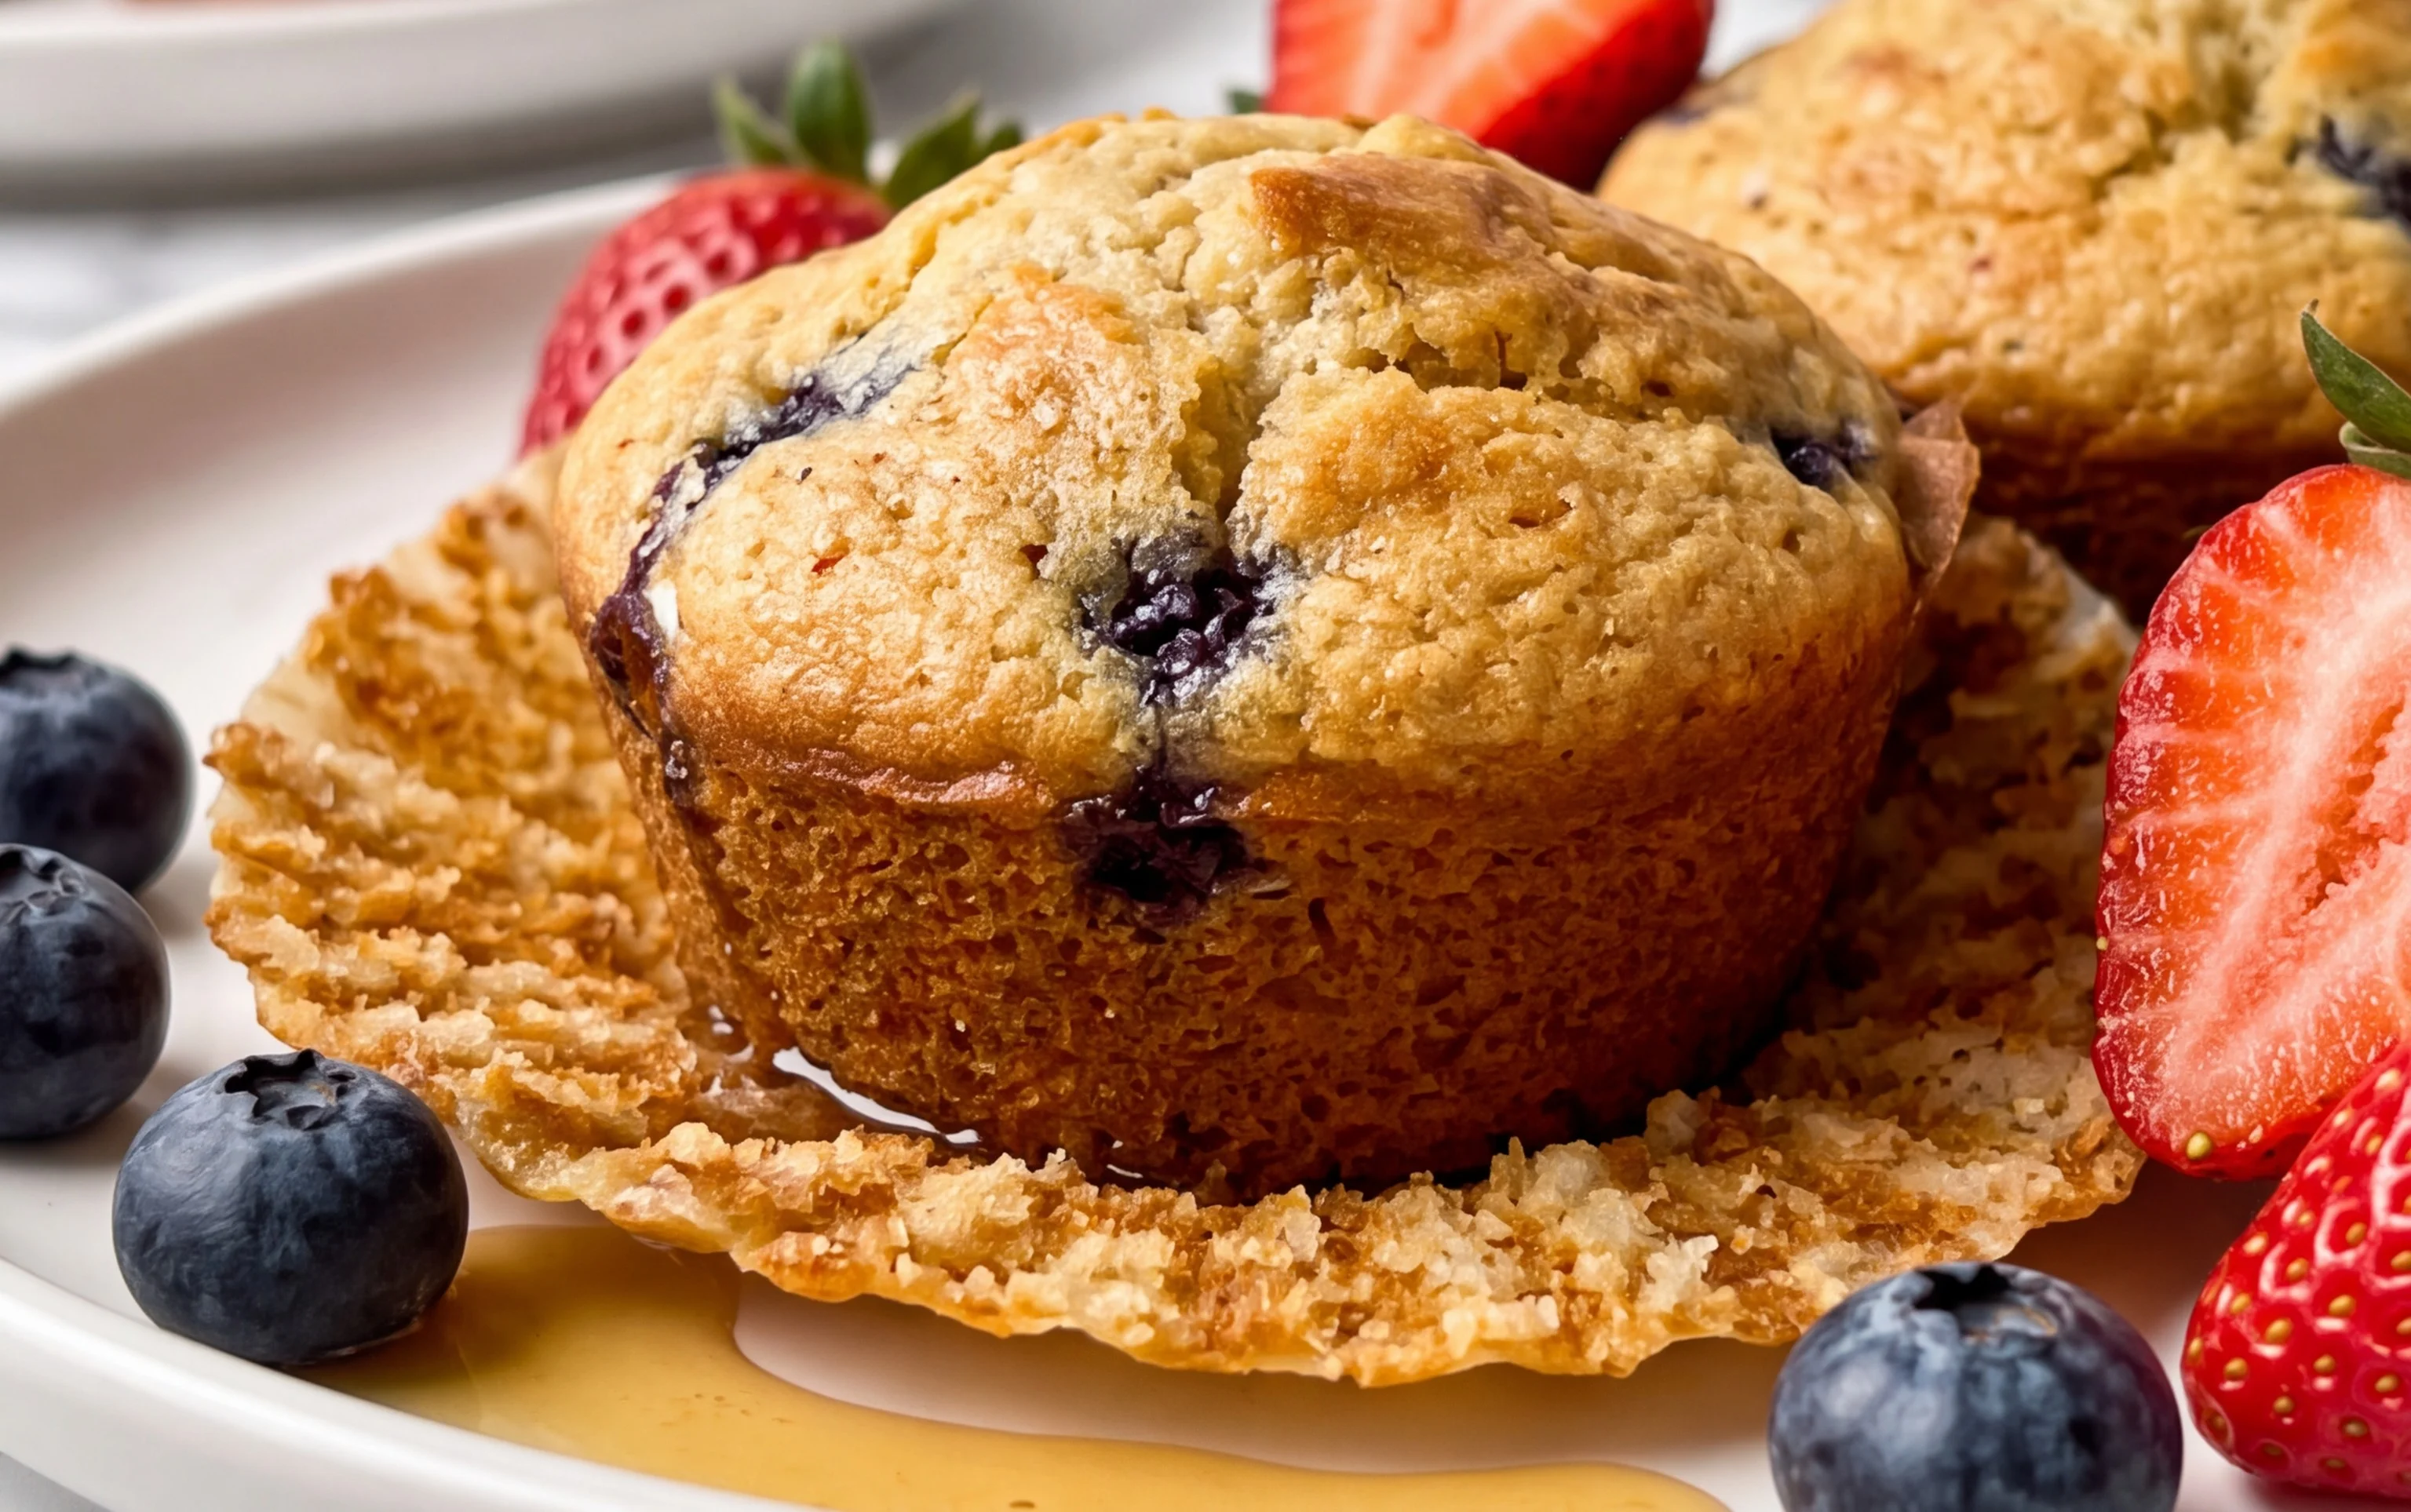
Conclusion:
There you have it – the ultimate guide to creating delicious and incredibly convenient pancake muffins! These little gems are a game-changer for busy mornings or when you’re craving that fluffy pancake goodness without the fuss of standing over a hot griddle. The beauty of pancake muffins lies in their simplicity, the fact that they bake up golden and tender, and how easily they adapt to your favorite flavors. They are the perfect way to enjoy pancakes in a portable, mess-free format.
I love serving these warm with a drizzle of maple syrup, a dollop of whipped cream, or a handful of fresh berries. They also make a fantastic base for more adventurous toppings like chocolate chips, cinnamon sugar, or even a sprinkle of nuts. Don’t hesitate to get creative with variations – add a swirl of fruit puree to the batter, stir in some chopped cooked beef bacon for a sweet and savory treat, or even experiment with different extracts like almond or orange. I truly encourage you to give these pancake muffins a try; you won’t be disappointed!
Frequently Asked Questions about Pancake Muffins:
Q: Can I make these pancake muffins ahead of time?
A: Absolutely! Pancake muffins are fantastic for meal prep. Once cooled completely, you can store them in an airtight container at room temperature for up to two days, or in the refrigerator for up to a week. Reheat them gently in a toaster oven or microwave for a quick breakfast.
Q: My pancake muffins are a bit dry. What did I do wrong?
A: Dryness can sometimes occur if the batter is overmixed or if they are overbaked. Make sure to mix your batter until just combined, with a few lumps remaining. Also, keep an eye on the baking time and remove them from the oven as soon as a toothpick inserted into the center comes out clean.
Pancake Muffins
A simple and delicious recipe for fluffy pancake muffins, perfect for a quick breakfast or snack. Combines the ease of pancakes with the convenience of muffins.
Ingredients
-
2 ½ cups pancake mix (or Bisquick)
-
2 eggs
-
⅓ cup honey
-
½ cup milk
-
¼ cup vegetable oil
Instructions
-
Step 1
Preheat oven to 375°F (190°C) and grease a muffin tin or line with paper liners. -
Step 2
In a large bowl, whisk together the eggs, honey, milk, and vegetable oil until well combined. -
Step 3
Add the pancake mix to the wet ingredients and stir until just combined. Do not overmix; a few lumps are okay. -
Step 4
Spoon the batter evenly into the prepared muffin cups, filling each about two-thirds full. -
Step 5
Bake for 15-18 minutes, or until a toothpick inserted into the center of a muffin comes out clean. -
Step 6
Let the muffins cool in the tin for a few minutes before transferring them to a wire rack to cool completely.
Important Information
Nutrition Facts (Per Serving)
It is important to consider this information as approximate and not to use it as definitive health advice.
Allergy Information
Please check ingredients for potential allergens and consult a health professional if in doubt.