Perfect Yeast Doughnuts-Light Airy & Crispy
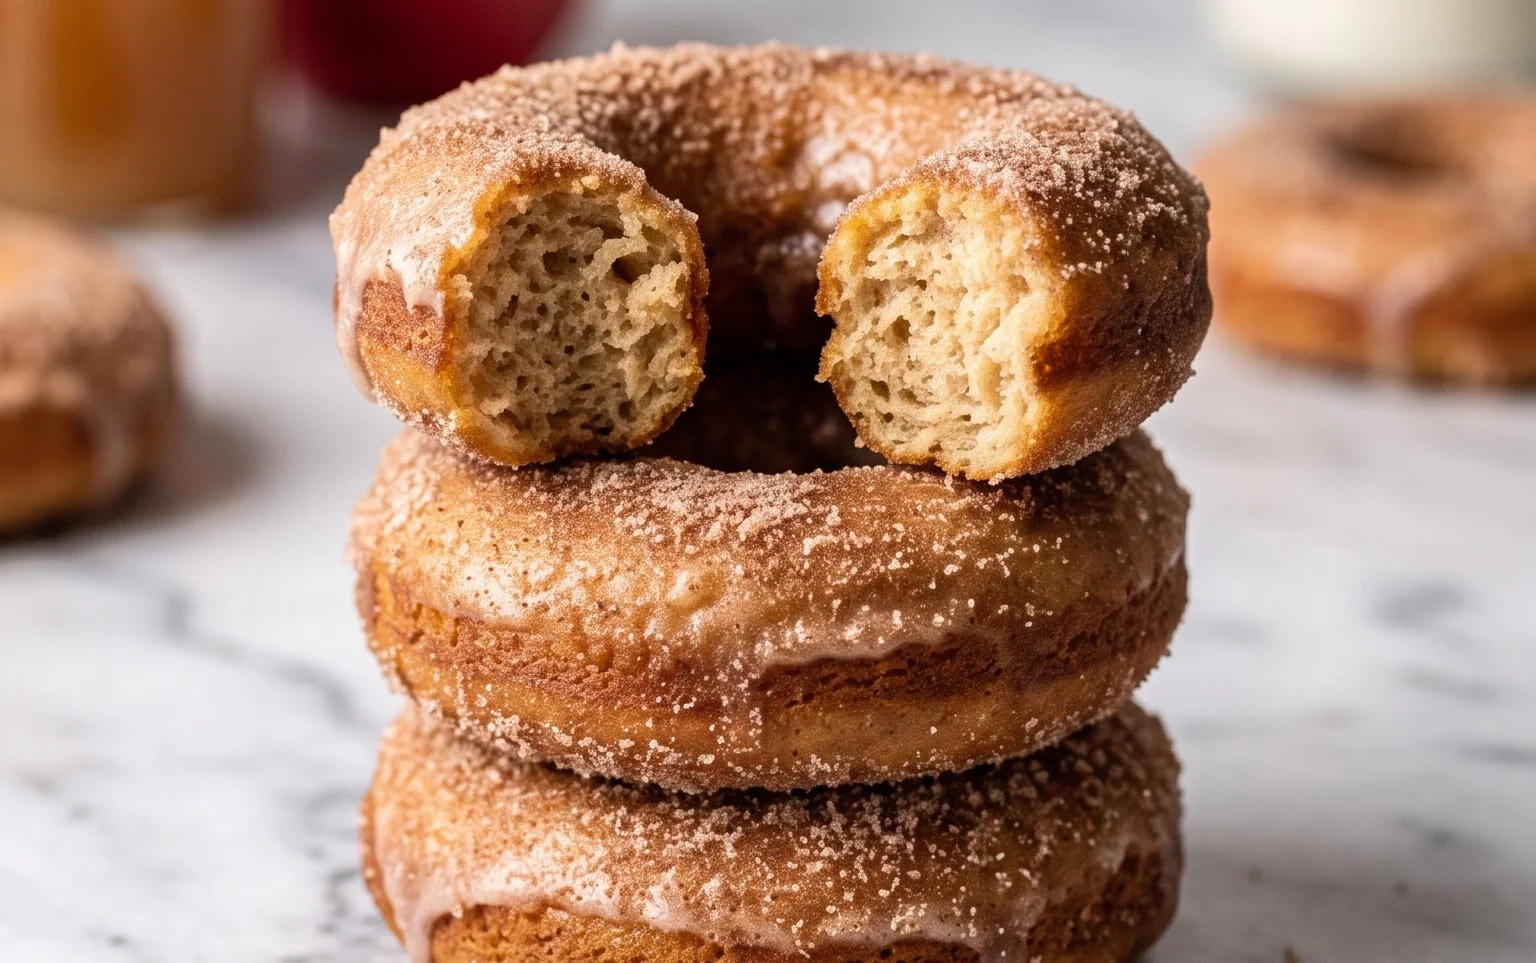
Perfect yeast doughnuts are more than just a breakfast treat; they’re a nostalgic whisper of simpler times, a golden halo of pure joy. Imagine sinking your teeth into a cloud-like interior, still warm from the fryer, yielding to a delicate, slightly chewy texture that’s simply divine. That’s the magic of a truly great yeast doughnut. What is it about these fluffy rings that captivates us so? It’s their incredible versatility – a blank canvas for your wildest flavor dreams. From a classic glaze to a decadent chocolate coating, or even a dusting of cinnamon sugar, each bite is an adventure. We’ll guide you step-by-step to achieving these perfect yeast doughnuts in your own kitchen, ensuring a batch that’s light, airy, and utterly irresistible. Get ready to experience doughnut perfection!”
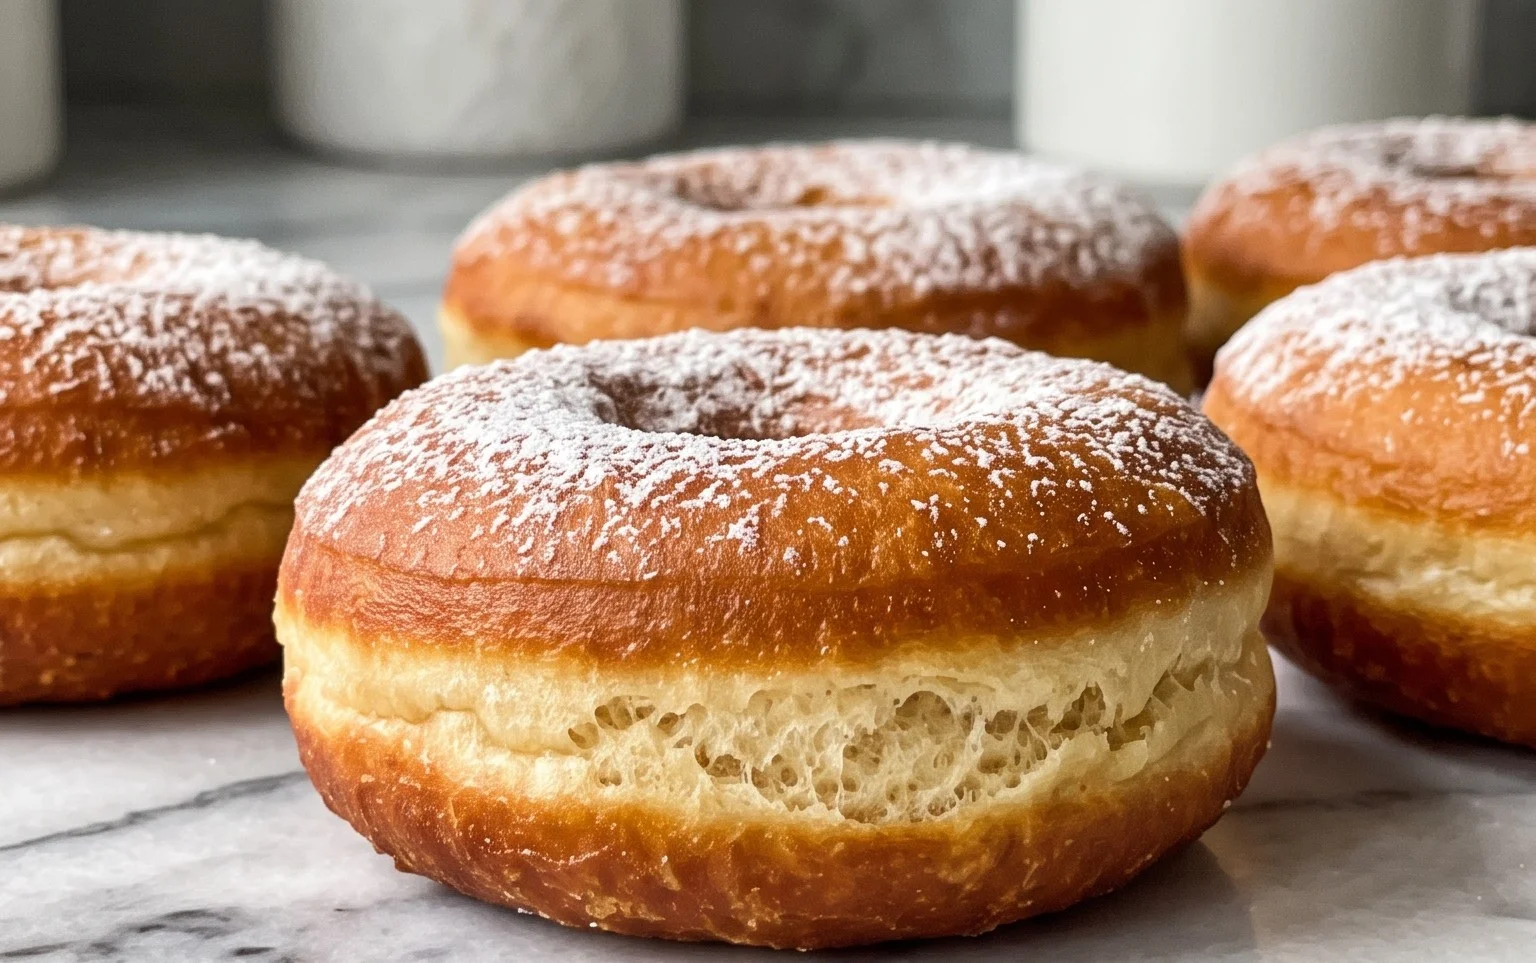
Perfect Yeast Doughnuts
There’s nothing quite like a warm, pillowy yeast doughnut, fresh from the fryer and coated in a sweet glaze or a dusting of sugar. For years, I’ve been perfecting my recipe, and I’m excited to share it with you. This recipe focuses on creating a light, airy interior with a slightly crisp exterior, the hallmark of a truly great doughnut. Don’t be intimidated by working with yeast; it’s a simple process that yields incredibly rewarding results. We’ll guide you through each step, ensuring your doughnut dreams become a delicious reality.
Ingredients:
- 6 Tbsp water (lukewarm)
- 5 oz buttermilk (at room temperature)
- 1 egg (at room temperature)
- 2 oz butter (melted)
- 16 oz all-purpose flour (or bread flour)
- 2 oz sugar
- 1 tsp salt
- 1 ½ tsp quick-rise yeast (or regular dried yeast)
- 16 oz olive oil (for frying)
- 4 oz sugar (1/2 cup or more as needed for coating the doughnuts)
- Jam, chocolate hazelnut spread, and or whipped cream for filling, if desired (various amounts as needed)
Making the Dough
The foundation of a perfect doughnut is a well-developed dough. We’ll start by activating our yeast to ensure it’s alive and ready to work its magic. In a small bowl, combine the 6 tablespoons of lukewarm water with the 1 ½ teaspoons of quick-rise yeast. Give it a gentle stir and let it sit for about 5-10 minutes. You should see it start to get foamy and bubbly, which is a sign that the yeast is active. If it doesn’t foam, your yeast might be old, and it’s best to start with a fresh packet.
In a larger mixing bowl, combine the 5 ounces of room temperature buttermilk, the room temperature egg, and the 2 ounces of melted butter. Whisk these wet ingredients together until they are well combined. Add the activated yeast mixture to the wet ingredients and stir.
Now it’s time to add the dry ingredients. In a separate bowl, whisk together the 16 ounces of all-purpose flour (bread flour will give you a slightly chewier doughnut, which is also fantastic), the 2 ounces of sugar, and the 1 teaspoon of salt. Gradually add the dry ingredients to the wet ingredients, mixing until a shaggy dough forms.
Kneading the Dough
This is where we develop the gluten, which is crucial for that signature soft and chewy texture. You can knead this dough by hand or using a stand mixer with a dough hook.
By Hand: Turn the shaggy dough out onto a lightly floured surface. Begin kneading by folding the dough over on itself and pushing down with the heels of your hands. Rotate the dough and repeat. It will be sticky at first, but as you continue kneading, it will become smoother and more elastic. Aim for about 8-10 minutes of kneading until the dough is smooth, elastic, and springs back when gently poked. If it’s too sticky, add a little more flour, a tablespoon at a time, but be careful not to add too much, as this can make your doughnuts tough.
By Stand Mixer: Attach the dough hook to your stand mixer. Add the dough to the bowl and mix on low speed for about 6-8 minutes. The dough should pull away from the sides of the bowl and become smooth and elastic.
Once the dough is properly kneaded, lightly grease a clean bowl with a little oil. Place the dough in the bowl, turning it to coat all sides. Cover the bowl tightly with plastic wrap or a damp kitchen towel. Let the dough rise in a warm place for about 1 to 1.5 hours, or until it has doubled in size. This process is called proofing, and it’s essential for creating those airy pockets.
Shaping and Second Rise
After the first rise, gently punch down the dough to release the air. Turn the dough out onto a lightly floured surface. You can roll the dough out to about ½ inch thickness. Using a doughnut cutter or two round cutters of different sizes (one for the outer shape and a smaller one for the hole), cut out your doughnuts. If you don’t have a doughnut cutter, you can cut out circles and then use a small piece of dough to make the hole in the center of each circle. Gather the scraps, gently re-knead them a couple of times, and cut out more doughnuts until all the dough is used.
Place the cut doughnuts on a baking sheet lined with parchment paper, ensuring they have some space between them. Cover them loosely with plastic wrap. Let them rise for a second time in a warm place for about 30-45 minutes, or until they are puffy and have increased in size. This second rise is important for a light texture.
Frying the Doughnuts
This is the exciting part! Heat 16 ounces of olive oil in a deep, heavy-bottomed pot or Dutch oven over medium heat. You want the oil to be between 350°F and 375°F. Use a thermometer to ensure accuracy; the oil temperature is crucial for evenly cooked doughnuts. If the oil is too hot, the outside will burn before the inside is cooked. If it’s too cool, the doughnuts will absorb too much oil and become greasy.
Carefully place 2-3 doughnuts into the hot oil, being careful not to overcrowd the pot. Fry them for about 1-2 minutes per side, until they are golden brown and puffed up. Use a slotted spoon or spider strainer to gently flip the doughnuts. Once golden brown on both sides, remove them from the oil and place them on a wire rack set over a baking sheet to drain any excess oil.
Glazing and Filling
As soon as the doughnuts come out of the oil, while they are still warm, you can coat them in the 4 ounces of sugar. Simply toss them gently in a bowl of sugar until evenly coated. This is a classic and simple way to enjoy them.
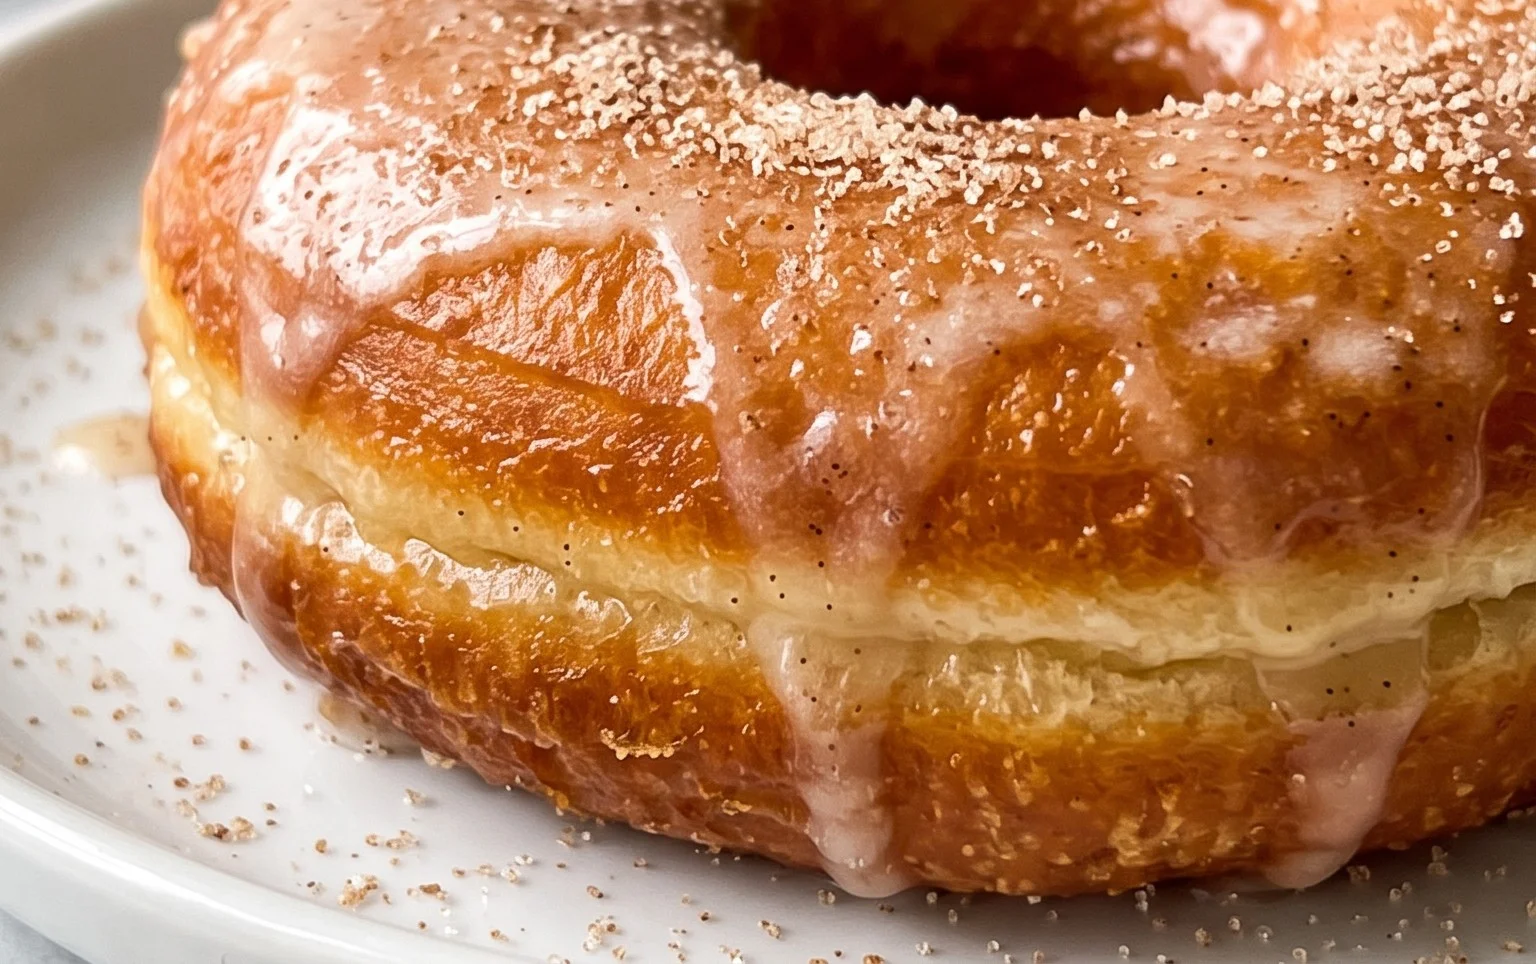
If you prefer a glaze, whisk together powdered sugar, a little milk or water, and a splash of vanilla extract until smooth and pourable. Dip the warm doughnuts into the glaze, letting any excess drip off, and place them back on the wire rack to set.
For filled doughnuts, wait for them to cool slightly. You can then use a piping bag with a long tip to inject them with your favorite fillings like jam, chocolate hazelnut spread, or whipped cream. This recipe provides a fantastic base for countless flavor combinations, so have fun experimenting! Enjoy your homemade, perfect yeast doughnuts!
Conclusion:
There you have it – your definitive guide to crafting truly perfect yeast doughnuts right in your own kitchen! We’ve explored the essential steps, from activating your yeast to achieving that ideal fluffy interior and golden-brown exterior. The beauty of this recipe lies in its simplicity and the incredibly rewarding outcome. Imagine the aroma filling your home as these delightful treats bake, a testament to your culinary prowess. These aren’t just doughnuts; they’re moments of pure joy waiting to be shared. Whether you’re a seasoned baker or a curious beginner, I highly encourage you to give this perfect yeast doughnut recipe a try. You’ll be amazed at how accessible and delicious homemade doughnuts can be.
For serving, the possibilities are endless! Enjoy them warm and fresh, dusted with powdered sugar, dipped in a classic vanilla glaze, or even rolled in cinnamon sugar. They make for a spectacular weekend brunch centerpiece, a delightful afternoon pick-me-up, or a show-stopping dessert. Don’t be afraid to get creative with variations! Consider adding a touch of cinnamon or nutmeg to the dough, infusing your glaze with lemon zest or coffee, or even filling them with a rich chocolate cream or fruit compote after frying. The foundational recipe is incredibly versatile, allowing you to customize them to your heart’s content.
Frequently Asked Questions:
Why are my doughnuts dense instead of fluffy?
Density often stems from overworking the dough, not allowing sufficient proofing time, or using stale yeast. Ensure you’re mixing just until the dough comes together and then giving it ample time in a warm spot to rise. Always check your yeast’s expiration date!
Can I bake these instead of frying them?
While this recipe is optimized for frying to achieve that authentic texture, you can adapt it for baking. You’ll want to bake them in a doughnut pan at around 375°F (190°C) until golden brown. The texture will be more cake-like than traditional fried doughnuts, but still delicious!
How do I store leftover doughnuts?
For the best texture, it’s ideal to enjoy your perfect yeast doughnuts fresh. However, if you have leftovers, store them in an airtight container at room temperature for up to two days. They will lose some of their crispness but remain enjoyable.
Perfect Yeast Doughnuts
Classic yeast-raised doughnuts, light and fluffy, perfect for frying and coating or filling.
Ingredients
-
6 Tbsp water (lukewarm)
-
5 oz buttermilk (at room temperature)
-
1 egg (at room temperature)
-
2 oz butter (melted)
-
16 oz all-purpose flour ((or bread flour))
-
2 oz sugar
-
1 tsp salt
-
1 ½ tsp quick-rise yeast ((or regular dried yeast) )
-
16 oz olive oil (for frying)
-
4 oz sugar ((1/2 cup or more as needed for coating the doughnuts))
-
jam, chocolate hazelnut spread, and or whipped cream for filling, if desired ((various amounts as needed))
Instructions
-
Step 1
In a large bowl, combine lukewarm water and yeast. Let sit for 5-10 minutes until foamy. -
Step 2
Whisk in buttermilk, egg, and melted butter into the yeast mixture. -
Step 3
In a separate bowl, whisk together flour, sugar, and salt. Add to the wet ingredients and mix until a shaggy dough forms. -
Step 4
Turn dough onto a lightly floured surface and knead for 5-7 minutes until smooth and elastic. Place in a greased bowl, cover, and let rise in a warm place for 1-1.5 hours, or until doubled in size. -
Step 5
Punch down the dough and roll it out to about 1/2 inch thickness. Cut out doughnuts using a doughnut cutter or two different sized round cutters. -
Step 6
Place doughnuts on parchment-lined baking sheets, cover loosely, and let rise for another 20-30 minutes until puffy. -
Step 7
Heat olive oil in a deep pot or Dutch oven to 350-365°F (175-185°C). Carefully fry doughnuts in batches, about 1-2 minutes per side, until golden brown. -
Step 8
Remove doughnuts with a slotted spoon and drain on paper towels. While still warm, toss in granulated sugar for coating or fill with your desired fillings.
Important Information
Nutrition Facts (Per Serving)
It is important to consider this information as approximate and not to use it as definitive health advice.
Allergy Information
Please check ingredients for potential allergens and consult a health professional if in doubt.