Quick Pickled Banana Peppers Easy & Tangy Recipe
Quick pickled banana peppers are an absolute game-changer for elevating everyday meals! If you’re anything like me, you crave that bright, tangy punch that cuts through richness and adds a vibrant zest to everything from sandwiches and pizzas to charcuterie boards. These aren’t your average soggy, store-bought pickles; quick pickled banana peppers offer a satisfying crunch and a delightful sweet-and-sour flavor profile that’s utterly addictive. What makes them so special is their versatility and the sheer speed with which you can transform humble banana peppers into a gourmet condiment. In just a short amount of time, you’ll have a jar brimming with these ruby-red or sunny-yellow beauties, ready to add a burst of flavor that’ll have everyone asking for the recipe. Get ready to discover your new favorite kitchen shortcut!
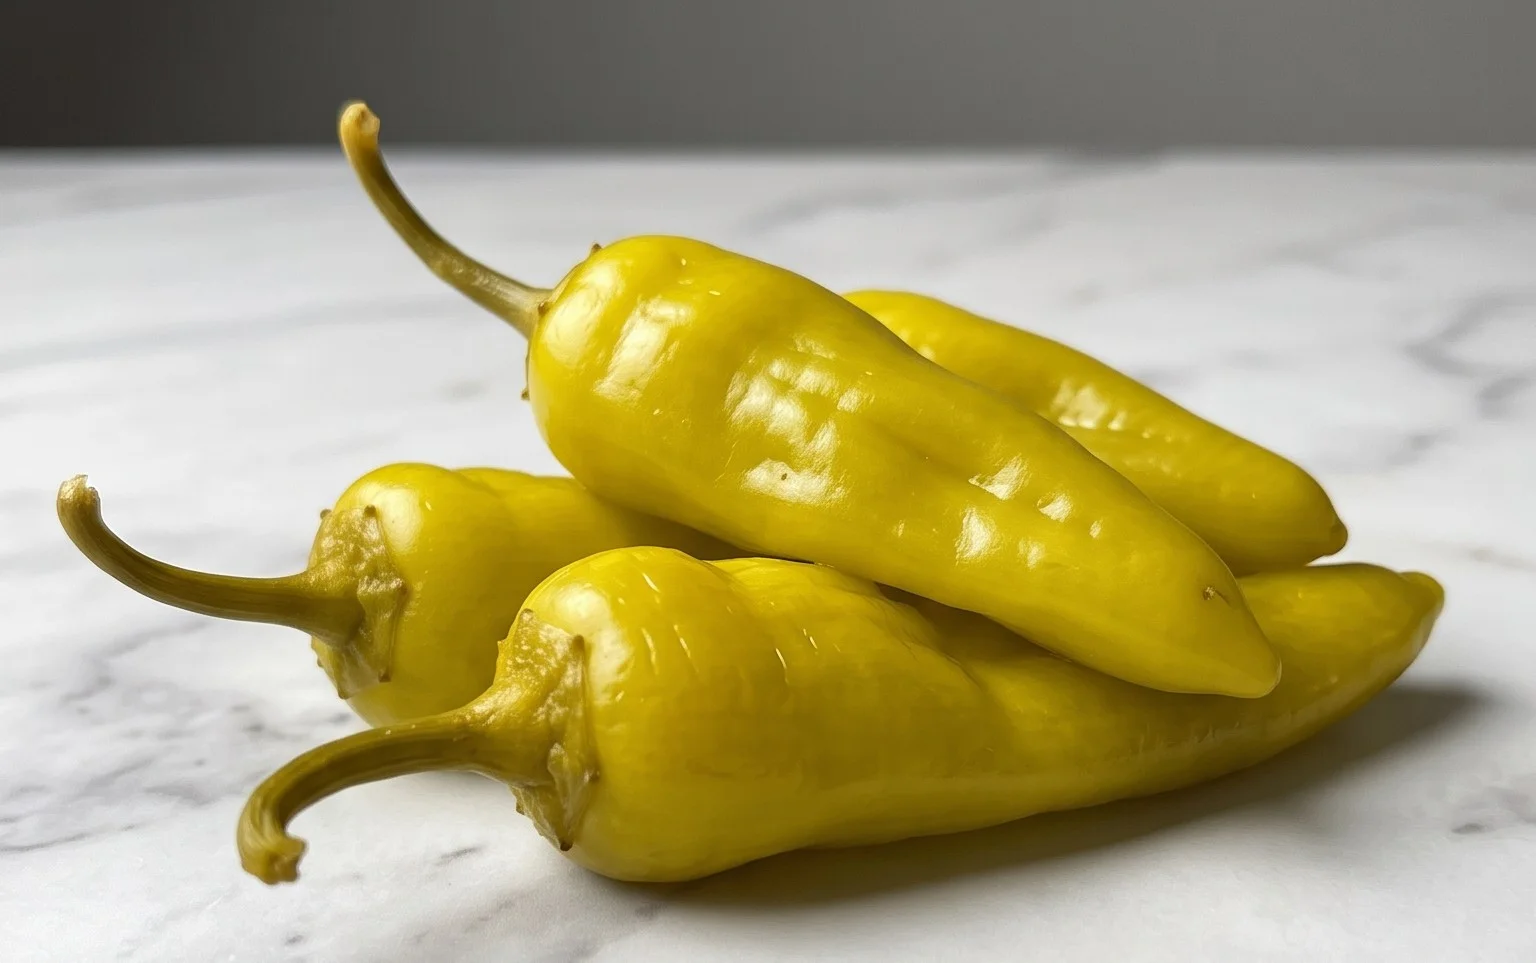
Quick Pickled Banana Peppers
There’s something incredibly satisfying about having a jar of homemade pickles on hand. They add a bright, tangy punch to sandwiches, burgers, salads, and even charcuterie boards. And when it comes to speed and simplicity, these Quick Pickled Banana Peppers are a true game-changer. Forget waiting weeks for traditional pickling; in just a few hours, you can transform fresh, vibrant banana peppers into a delicious condiment bursting with flavor. I love how versatile they are – the mild heat and slightly sweet profile of banana peppers make them incredibly approachable, and this quick pickle method preserves their delightful crunch.
The beauty of this recipe lies in its straightforward approach. It’s perfect for beginners, and even experienced cooks will appreciate how quickly they can whip up a batch. These pickles are fantastic straight from the jar, but they also soften and mellow slightly as they sit, making them even more enjoyable after a day or two. So, if you’re looking to elevate your everyday meals with a simple yet impactful ingredient, grab yourself some fresh banana peppers, and let’s get pickling!
Ingredients:
- 14-16 oz fresh banana peppers
- 2-3 cloves garlic (minced)
- 1.5 cups vinegar (choose one: white vinegar, grape juice vinegar, white balsamic vinegar, or apple cider vinegar for different flavor profiles)
- 1.5 cups water
- 1/2-1 tsp sea salt
Preparing Your Peppers
Before we dive into the brine, let’s talk about getting our star ingredient ready. The first step is to thoroughly wash your fresh banana peppers under cool running water. We want to ensure they are clean and free from any dirt or debris. Once washed, it’s time to prep them for pickling. You have a few options here, depending on how you plan to use your pickled peppers. Many people prefer to slice them into rings, about ¼ inch thick. This creates beautiful, coin-shaped pickles that are easy to scoop and add to dishes. If you’re planning to stuff them or want larger pieces, you can simply slice them in half lengthwise, removing the seeds and membranes if you prefer a milder pickle. Banana peppers have a generally mild heat, but removing the seeds and pith will further reduce any spiciness. For this quick pickle method, I find slicing them into rings is the most efficient and visually appealing.
Crafting the Quick Pickle Brine
Now, let’s get to the heart of the pickling process: the brine. This is where all the magic happens. In a medium saucepan, combine your chosen vinegar (I often opt for white vinegar for its crispness, but apple cider vinegar adds a lovely fruity note), water, and sea salt. The type of vinegar you choose will subtly influence the final flavor profile. White vinegar offers a clean, sharp tang, while apple cider vinegar brings a touch of sweetness and fruitiness. Grape juice vinegar is another interesting option if you can find it, offering a unique depth. White balsamic vinegar, while a bit pricier, can also yield a wonderfully nuanced pickle. Whichever you select, the ratio of 1.5 cups of vinegar to 1.5 cups of water provides a balanced acidity for quick pickling. Stir the mixture over medium heat until the sea salt is completely dissolved. It’s important that the salt is fully incorporated to ensure even pickling and proper preservation. Don’t bring it to a boil; just warm it enough to dissolve the salt.
Assembling and Brining
Once your brine is ready and the salt has dissolved, carefully place your prepared banana peppers into a clean glass jar or a heatproof container. I like to use mason jars for their convenience and sealing capabilities, but any glass container with a lid will work. As you add the peppers, try to pack them relatively snugly, but don’t overcrowd them too much, as this can hinder the brine from reaching all the surfaces. Now, it’s time to add your minced garlic. Sprinkle the minced garlic evenly among the peppers in the jar. The garlic will infuse the brine with its aromatic flavor, adding another layer of complexity to your pickles. Once your peppers and garlic are in the jar, carefully pour the warm brine over them. Make sure the brine completely covers the peppers. If there isn’t quite enough liquid, you can mix a little more vinegar and water in a 1:1 ratio to top it off, ensuring everything is submerged.
The Waiting Game (The Quick Part!)
Here’s where the “quick” in quick pickled banana peppers really shines. Unlike traditional canning methods that require long simmering times and sealing, this recipe relies on a shorter brining period. After pouring the warm brine over the peppers, let the jar sit at room temperature for about 30 minutes to an hour. This initial period allows the peppers to start softening and absorbing the flavors of the brine while still warm. After this initial resting period, you’ll want to transfer the jar to the refrigerator. This is crucial for stopping the cooking process and ensuring the pickles maintain their crisp texture. The longer they sit in the refrigerator, the more developed their pickled flavor will become. While you can technically enjoy them after just a few hours, I find they are truly at their best after at least 4-6 hours in the fridge, or even better, overnight. This allows the vinegar and garlic to fully permeate the peppers, creating that signature tangy, slightly garlicky taste we’re after.
Enjoying Your Speedy Pickles
And that’s it! You’ve just made your own delicious, quick pickled banana peppers. They are now ready to be enjoyed. From the moment you place them in the refrigerator, they are essentially ready to eat, although as I mentioned, their flavor will deepen and improve with time. These pickled banana peppers are incredibly versatile. Add them to your favorite sandwiches for an acidic counterpoint that cuts through richness. They are fantastic piled onto burgers, or chopped and mixed into a potato salad or a creamy coleslaw for an extra zing. Don’t underestimate their power on a charcuterie board either; they offer a refreshing and palate-cleansing element. Store your pickled banana peppers in the refrigerator, and they should stay fresh and delicious for at least 2-3 weeks. Just be sure to use a clean utensil every time you access the jar to maintain their quality. I hope you enjoy this simple yet incredibly rewarding recipe as much as I do!
Conclusion:
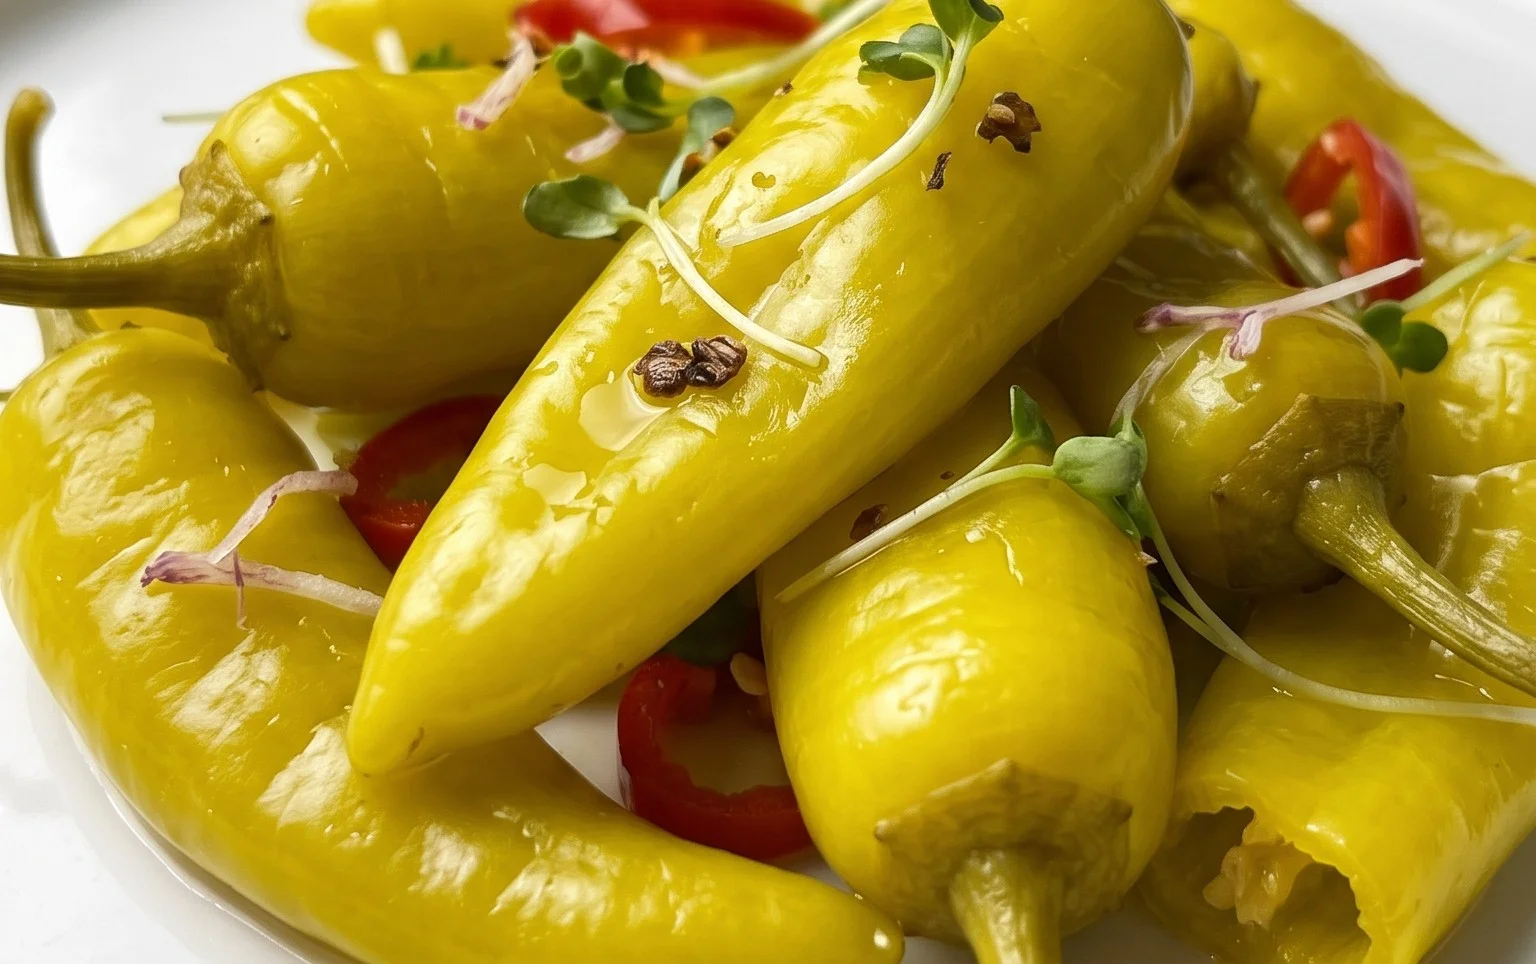
There you have it! Crafting your own quick pickled banana peppers is incredibly simple and rewarding, transforming those mild, slightly sweet peppers into a zesty, tangy treat that elevates any dish. This recipe is fantastic because it’s fast, requiring minimal active time and pantry staples, making it perfect for spur-of-the-moment cravings or when you need a flavorful punch for a meal. The bright acidity and subtle heat of these pickled beauties are a game-changer.
I love serving my quick pickled banana peppers on sandwiches and burgers, alongside cheese boards, or even chopped into salads and dips. They add an immediate zing that cuts through richness and brightens flavors. Don’t be afraid to experiment with variations! You can easily adjust the spice level by adding a pinch of red pepper flakes or a slice of jalapeño to the brine. Consider infusing your brine with fresh dill, garlic cloves, or even a bay leaf for a more complex flavor profile.
I truly encourage you to give this recipe a try. It’s a wonderful way to preserve fresh produce and to have a versatile condiment always on hand. Enjoy the process and the delicious results!
Frequently Asked Questions:
How long do quick pickled banana peppers last?
When stored properly in an airtight container in the refrigerator, your quick pickled banana peppers should stay fresh and delicious for at least 2-3 weeks. The vibrant flavor might mellow slightly over time, but they remain perfectly enjoyable.
Can I use other types of peppers for this recipe?
Absolutely! While banana peppers are ideal for their mild flavor and crisp texture, you can certainly experiment with other thinly sliced peppers like bell peppers (though they will be less spicy), mild jalapeños, or even pepperoncini. Adjust the pickling time slightly depending on the pepper’s thickness and desired crunch.
Quick Pickled Banana Peppers
Fast and easy pickled banana peppers perfect for sandwiches, burgers, or as a zesty side.
Ingredients
-
14-16 oz fresh banana peppers
-
2-3 cloves garlic, minced
-
1.5 cups white vinegar
-
1.5 cups water
-
1/2-1 tsp sea salt
Instructions
-
Step 1
Wash the banana peppers thoroughly. Trim off the stems and slice the peppers into rings or spears, removing seeds if desired for less heat. -
Step 2
In a medium saucepan, combine the vinegar, water, and sea salt. Add the minced garlic. -
Step 3
Bring the mixture to a boil over medium-high heat, stirring until the salt is dissolved. -
Step 4
While the brine is heating, pack the prepared banana peppers tightly into clean jars. -
Step 5
Carefully pour the hot brine over the peppers in the jars, ensuring they are fully submerged. Leave about 1/4 inch headspace. -
Step 6
Let the jars cool to room temperature, then seal them and refrigerate. The peppers will be ready to eat after at least 24 hours.
Important Information
Nutrition Facts (Per Serving)
It is important to consider this information as approximate and not to use it as definitive health advice.
Allergy Information
Please check ingredients for potential allergens and consult a health professional if in doubt.