Easy Air Fryer Donuts From Scratch
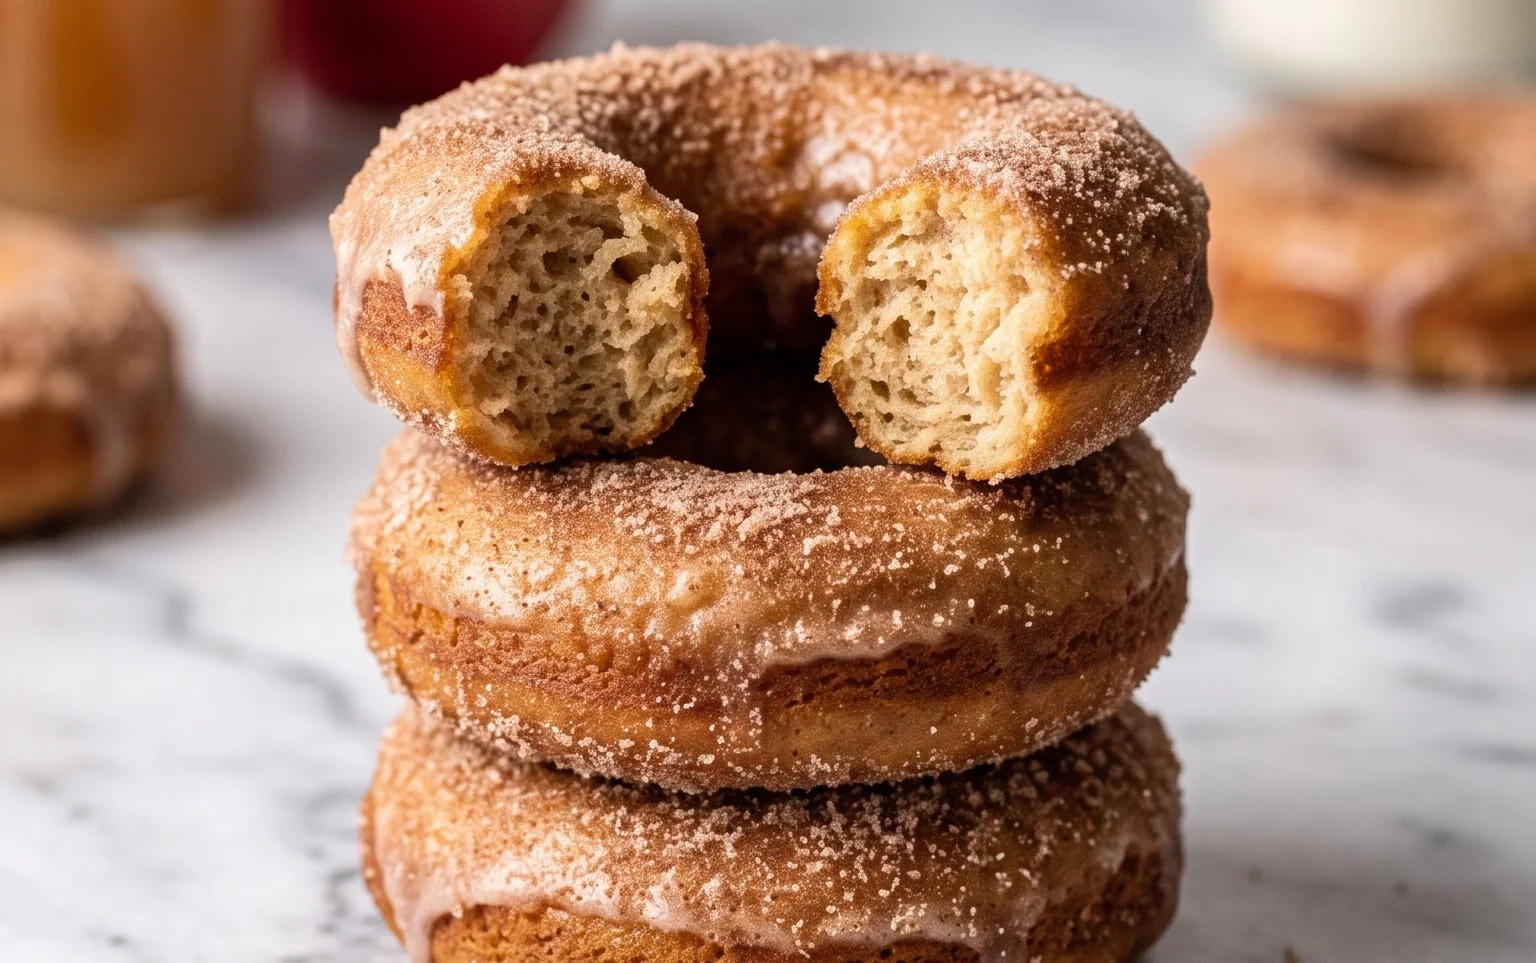
Air Fryer donuts from scratch are a game-changer for anyone craving a warm, fluffy, and freshly made treat without the fuss of deep frying. Forget greasy pans and splattering oil; we’re talking about achieving that perfect golden-brown exterior and tender interior with the magic of your air fryer. Who doesn’t love a donut? They’re the ultimate comfort food, perfect for a lazy weekend brunch, a special breakfast surprise, or even an afternoon pick-me-up. What truly makes these air fryer donuts so special is their incredible ease and speed. You can whip up a batch of these delightful pastries in a fraction of the time it takes for traditional donuts, and the results are surprisingly decadent. Imagine biting into a warm, homemade donut, dusted with sugar or drizzled with your favorite glaze, all made in your kitchen with minimal mess. This recipe proves that gourmet-level indulgence is now at your fingertips with air fryer donuts.
Air Fryer Donuts (from Scratch)
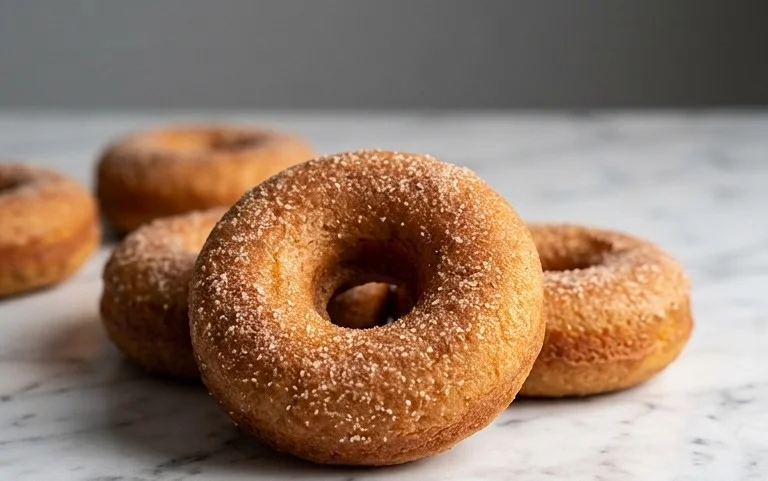
There’s something incredibly satisfying about making donuts from scratch. And when you can achieve that fluffy, slightly crispy exterior and tender interior with the help of your air fryer, well, that’s just pure joy. Forget the mess of deep frying; these air fryer donuts are a game-changer. They’re surprisingly easy to make, and the taste is leagues beyond anything store-bought. Get ready to impress yourself and anyone lucky enough to share these delicious homemade treats!
Ingredients:
- 1/2 cup warm water
- 1/4 cup warm milk
- 2¼ teaspoons dry active yeast
- ⅓ cup granulated sugar + 1 tablespoon
- 1/4 cup unsalted butter (melted)
- 1 egg
- 1 egg yolk
- 1 teaspoon vanilla extract
- 2 1/2 cups all-purpose flour (add more as needed)
- 1/2 teaspoon salt
- Cooking spray
- 2 cups powdered sugar
- 1/4 cup milk
- 1 tablespoon light corn syrup
- 1½ teaspoons vanilla extract
Getting Started: The Dough
The foundation of any great donut is a good dough. We’ll start by activating our yeast. In a large mixing bowl, combine the 1/2 cup of warm water and 1/4 cup of warm milk. The water and milk should be warm to the touch, like a comfortable bath, not hot. Too hot and you’ll kill the yeast, too cold and it won’t activate. Sprinkle the 2¼ teaspoons of dry active yeast over the top. Add a teaspoon of the 1/3 cup granulated sugar to the mixture. Give it a gentle stir and let it sit for about 5-10 minutes. You’ll know it’s ready when it becomes foamy and bubbly on the surface – a sign that your yeast is alive and ready to work its magic.
Once your yeast is foamy, add the remaining 1/3 cup of granulated sugar, the melted unsalted butter, the whole egg, the egg yolk, and the 1 teaspoon of vanilla extract to the bowl. Whisk everything together until well combined. Now it’s time for the flour and salt. Add the 2 1/2 cups of all-purpose flour and the 1/2 teaspoon of salt to the wet ingredients.
Kneading and Rising
You can use a stand mixer with a dough hook for this next step, or you can do it by hand. If using a mixer, mix on low speed until the ingredients just come together. Then, increase the speed to medium and knead for about 5-7 minutes, or until the dough is smooth and elastic. If you’re kneading by hand, turn the dough out onto a lightly floured surface and knead for about 8-10 minutes. The dough should be soft, slightly sticky, but should pull away from your hands and the counter. If it’s too sticky, gradually add a tablespoon of flour at a time. Be careful not to add too much, as this can result in tough donuts.
Once your dough is beautifully kneaded, lightly grease a clean bowl with cooking spray or a little oil. Place the dough in the bowl, turning it to coat all sides. Cover the bowl tightly with plastic wrap or a damp kitchen towel. Find a warm, draft-free spot for your dough to rise. An oven that’s been turned off (but maybe preheated briefly and then cooled) is a great spot. Let the dough rise for about 1 to 1.5 hours, or until it has doubled in size. This is where the yeast does its work, creating those airy pockets that make for a light and fluffy donut.
Shaping and Air Frying
Once your dough has doubled in size, punch it down gently to release the air. Turn the dough out onto a lightly floured surface. You can roll it out to about 1/2 inch thickness, or if you prefer thicker donuts, you can leave it a little thicker. Using a donut cutter or two round cookie cutters (one larger for the outside and one smaller for the hole), cut out your donut shapes. If you don’t have a donut cutter, you can simply cut out circles, and then use a small lid or bottle cap to create the hole in the center. Gather the scraps, gently knead them together, and cut out more donuts until all the dough is used.
Prepare your air fryer by preheating it to 350°F (175°C). This temperature is crucial for achieving that perfect golden-brown exterior without burning. Lightly grease your air fryer basket with cooking spray. This will prevent the donuts from sticking. Arrange the donuts in a single layer in the air fryer basket, making sure not to overcrowd them. You may need to cook them in batches.
Carefully place the basket into the preheated air fryer. Air fry for 4-6 minutes per side, or until they are golden brown and cooked through. The exact time will depend on your air fryer model and the thickness of your donuts. It’s always a good idea to check on them a minute or two early to prevent overcooking. You’re looking for that beautiful golden hue. Remove the cooked donuts from the air fryer and place them on a wire rack to cool slightly before glazing.
The Sweet Glaze
While your donuts are cooling, let’s whip up a simple and delicious glaze. In a medium bowl, whisk together the 2 cups of powdered sugar, 1/4 cup of milk, 1 tablespoon of light corn syrup, and 1½ teaspoons of vanilla extract. The light corn syrup is our secret weapon here; it adds a beautiful shine and helps the glaze set slightly without becoming hard. Whisk until the glaze is smooth and free of lumps. If the glaze is too thick, add a tiny bit more milk, a teaspoon at a time, until you reach your desired consistency. If it’s too thin, add a little more powdered sugar.
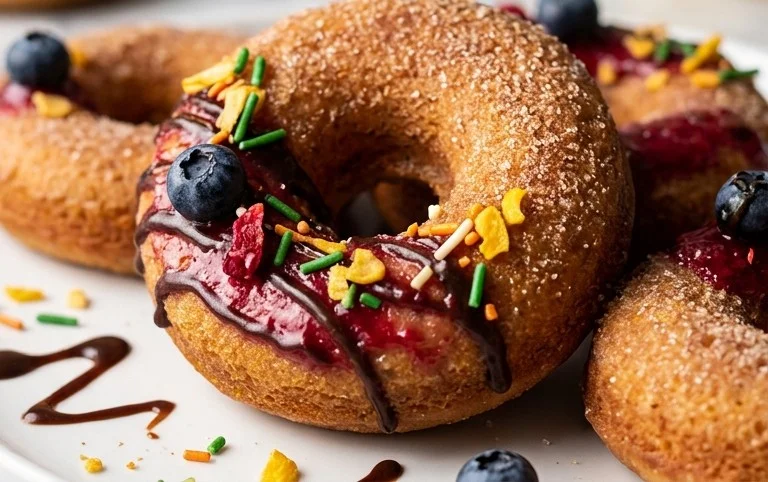
Once your donuts are cool enough to handle but still slightly warm, dip each donut into the glaze, allowing any excess to drip back into the bowl. You can also spoon the glaze over the donuts if you prefer a less drippy finish. Place the glazed donuts back on the wire rack to allow the glaze to set. You can also sprinkle them with your favorite toppings at this stage – sprinkles, cinnamon sugar, or even a drizzle of melted chocolate would be fantastic!
Enjoy these warm, homemade air fryer donuts. They are best enjoyed fresh, within a day or two of making them. The air fryer method truly delivers a wonderfully light and airy donut with a delightful texture that you’ll want to make again and again.
Conclusion:
There you have it – a step-by-step guide to creating delicious, homemade Air Fryer Donuts from scratch! This recipe is fantastic because it delivers that satisfying, slightly crispy exterior and fluffy interior you crave from a donut, all with significantly less oil and in a fraction of the time compared to traditional frying. The air fryer method is truly a game-changer for achieving bakery-quality results in your own kitchen. They’re perfect for a special weekend brunch, a fun activity with the kids, or simply as an indulgent treat to brighten your day. Don’t hesitate to get creative with your toppings! Glazes, cinnamon sugar, sprinkles, or even a drizzle of chocolate sauce can elevate these already amazing air fryer donuts to new heights. I truly encourage you to give this recipe a try; you’ll be amazed at how easy and rewarding it is to make these delightful donuts from scratch!
Frequently Asked Questions:
Can I make these donuts ahead of time?
While they are best enjoyed fresh, you can make the donut dough a day in advance and refrigerate it. For the best texture and flavor, it’s recommended to cook and glaze them closer to serving time. Cooked donuts will lose their optimal crispness if stored for too long.
What if I don’t have donut cutters?
No problem! You can use two different-sized round cookie cutters or even two glasses of varying sizes to achieve the classic donut shape. For the inner hole, a small bottle cap or even the end of a piping tip will work perfectly.
How can I make these donuts healthier?
You can experiment with whole wheat flour or a blend of whole wheat and all-purpose flour. For glazes, consider using a yogurt-based glaze or a simple dusting of powdered sugar with cinnamon instead of richer icing.
Air Fryer Donuts (from scratch)
Delicious homemade donuts made quickly and easily in your air fryer, from scratch.
Ingredients
-
1/2 cup warm water
-
1/4 cup warm milk
-
2¼ teaspoons dry active yeast
-
⅓ cup granulated sugar
-
1/4 cup unsalted butter (melted)
-
1 egg
-
1 egg yolk
-
1 teaspoon vanilla extract
-
2 1/2 cups all-purpose flour
-
½ teaspoon salt
-
Cooking spray
-
2 cups powdered sugar
-
1/4 cup milk
-
1 tablespoon light corn syrup
-
1½ teaspoons vanilla extract
Instructions
-
Step 1
In a large bowl, combine warm water, warm milk, and yeast. Let sit for 5-10 minutes until foamy. -
Step 2
Add the ⅓ cup granulated sugar, melted butter, egg, egg yolk, and 1 teaspoon vanilla extract to the yeast mixture. Whisk to combine. -
Step 3
Gradually add the all-purpose flour and salt, mixing until a soft dough forms. Knead on a floured surface for 5-7 minutes until smooth and elastic. -
Step 4
Place dough in a greased bowl, cover, and let rise in a warm place for about 1 hour, or until doubled in size. -
Step 5
Punch down dough and roll out to about ½ inch thickness. Cut out donuts using a donut cutter or two different sized round cutters. Place donuts on parchment paper. -
Step 6
Preheat air fryer to 350°F (175°C). Lightly spray donut basket with cooking spray. Air fry donuts in batches for 3-5 minutes per side, until golden brown. -
Step 7
While donuts are cooling, whisk together powdered sugar, ¼ cup milk, 1 tablespoon light corn syrup, and 1½ teaspoons vanilla extract for the glaze. -
Step 8
Dip cooled donuts into the glaze, letting excess drip off.
Important Information
Nutrition Facts (Per Serving)
It is important to consider this information as approximate and not to use it as definitive health advice.
Allergy Information
Please check ingredients for potential allergens and consult a health professional if in doubt.