Classic Scone Recipe – Tender & Crumbly Perfection
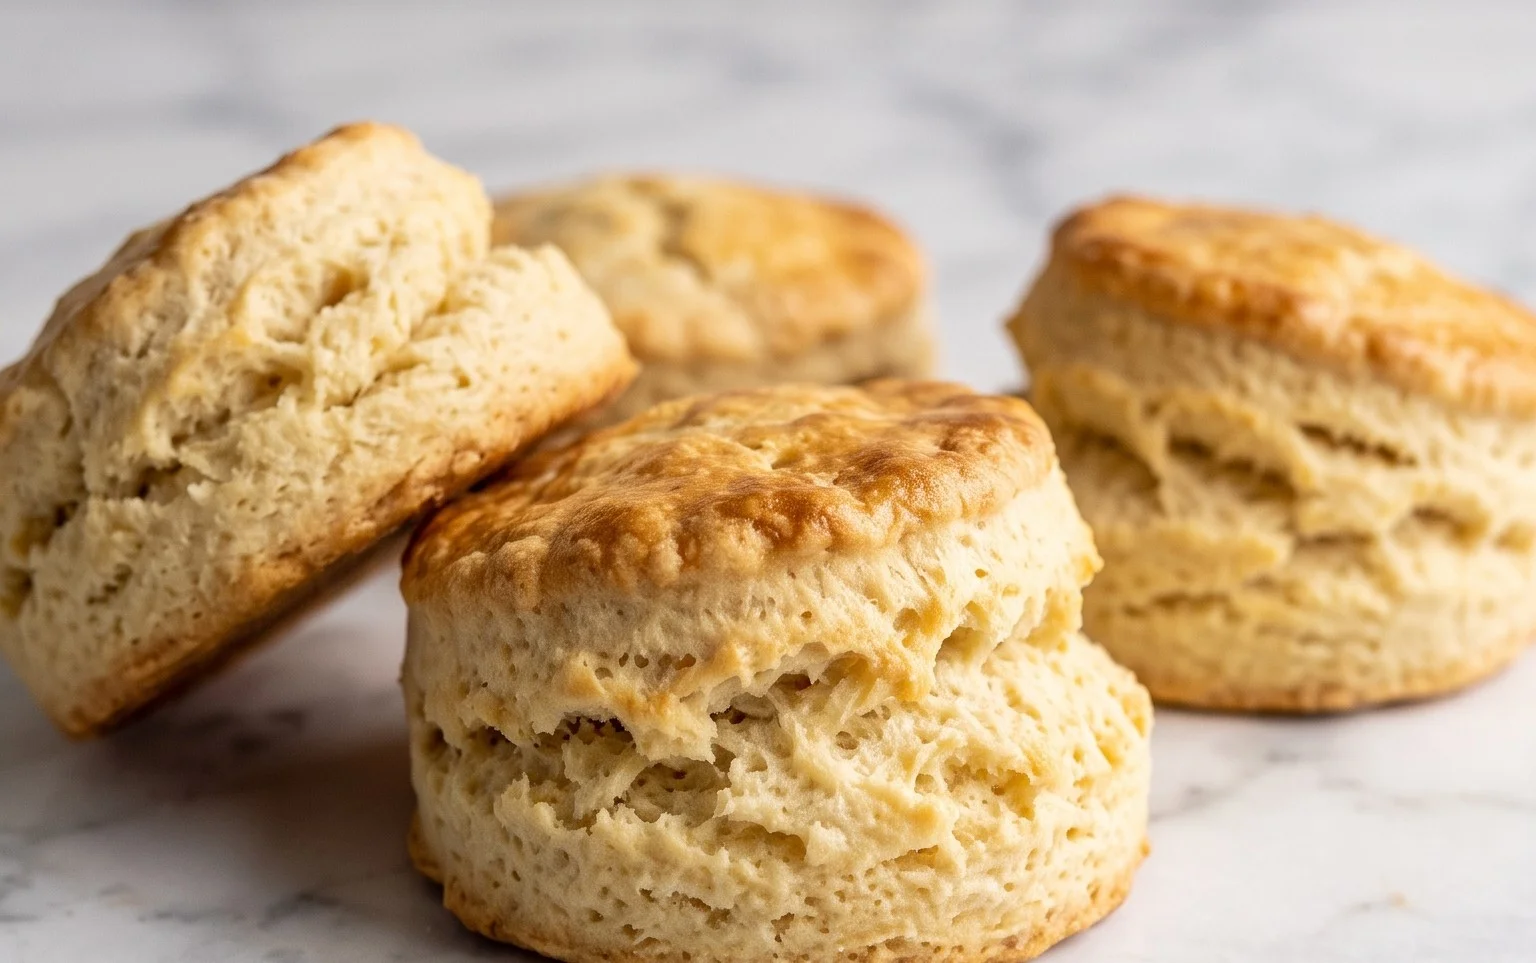
Classic scones are more than just a baked good; they are a warm hug on a plate, a whisper of tradition, and the perfect accompaniment to a steaming cup of tea. There’s a reason why these humble delights have stood the test of time. Their irresistible charm lies in their delightful dichotomy: a crisp, golden exterior that gives way to a wonderfully tender, slightly crumbly, and buttery interior. It’s this textural magic, coupled with their simple yet satisfying flavour profile, that makes them so universally loved. Whether slathered with clotted cream and jam for an afternoon tea indulgence, or enjoyed simply as a comforting breakfast treat, classic scones evoke a feeling of cozy nostalgia and pure, unadulterated joy. In this recipe, I’ll guide you through creating perfect classic scones that will have you feeling like a baking pro in no time.
Classic Scones
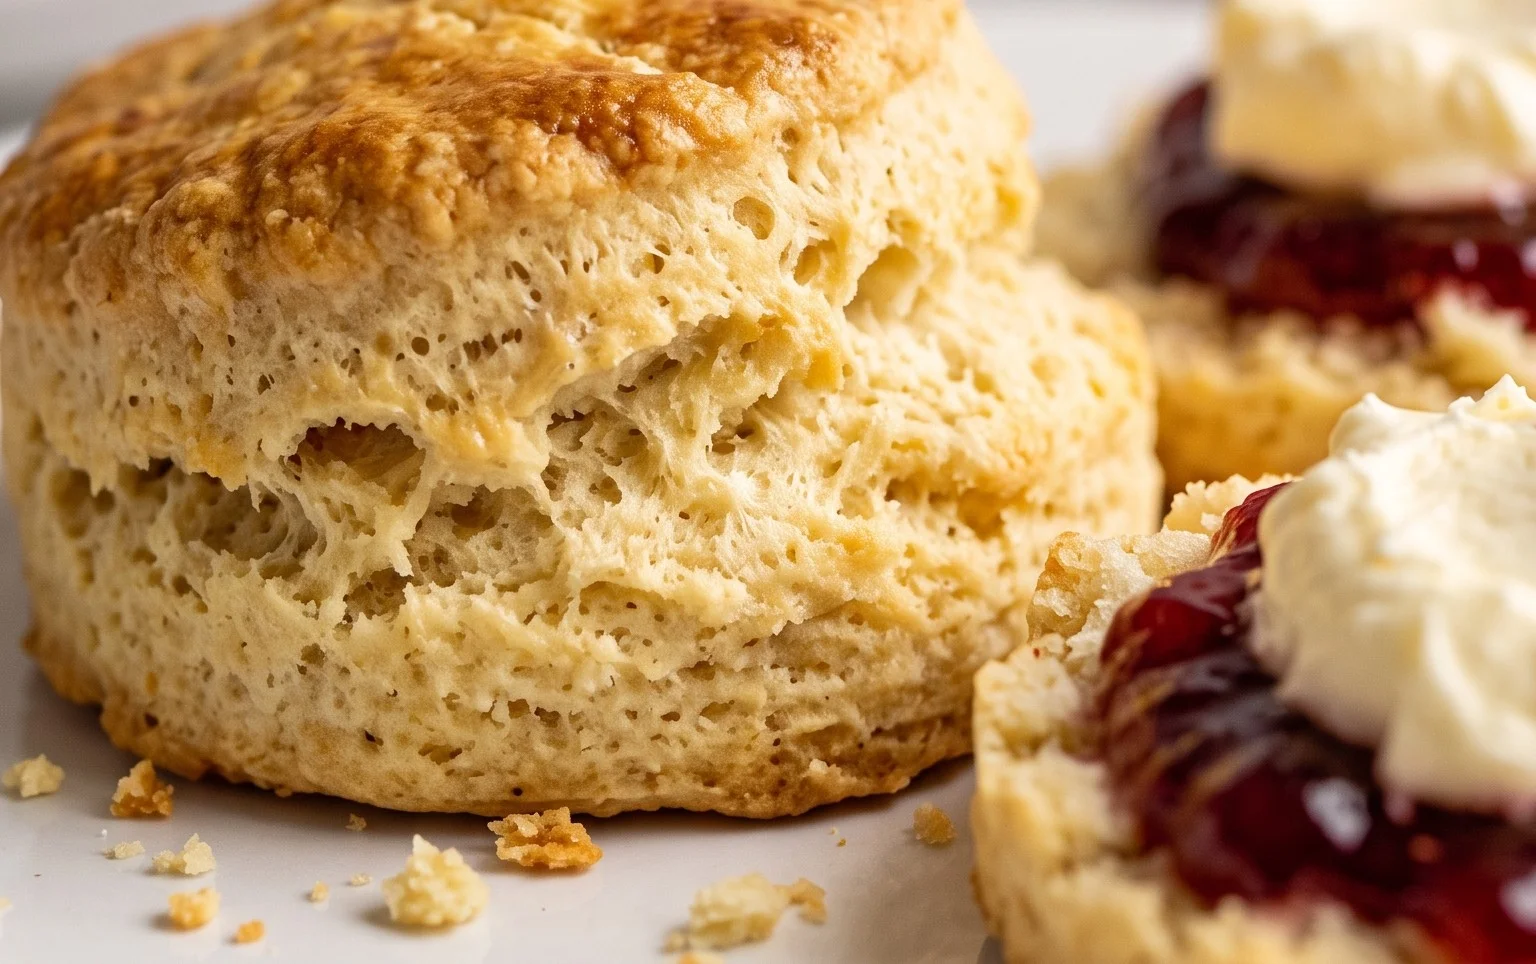
There’s something undeniably comforting about a perfectly baked scone. Golden brown on the outside, tender and crumbly within, and just begging to be slathered with clotted cream and jam. My quest for the ultimate classic scone recipe led me down many a flour-dusted path, but I’ve finally landed on a method that consistently delivers, and I’m so excited to share it with you. These aren’t your overly sweet, cake-like scones; these are the real deal – subtly sweet, buttery, and with that delightful texture that makes them perfect for breakfast, brunch, or an afternoon tea. The secret, I’ve found, lies in using cold ingredients and not overworking the dough. It might sound simple, but these two elements are game-changers.
Ingredients:
- 3 cups (381 grams) all-purpose flour, measured correctly
- 1/3 cup (66 grams) granulated sugar
- 1 teaspoon fine sea salt
- 1 tablespoon baking powder
- 1/2 teaspoon baking soda
- 1 1/2 sticks (170 grams) unsalted butter, cold and cubed
- 1 cup (237 grams) buttermilk
- 2 large eggs, divided
- 1 teaspoon vanilla extract
- Coarse sugar, for topping
Instructions:
1. Preparing the Dry Ingredients and Cutting in the Butter
First things first, let’s get our dry ingredients ready. In a large mixing bowl, whisk together the 3 cups (381 grams) of all-purpose flour, 1/3 cup (66 grams) of granulated sugar, 1 teaspoon of fine sea salt, 1 tablespoon of baking powder, and 1/2 teaspoon of baking soda. Whisking ensures everything is evenly distributed, which is crucial for a consistent rise. Now for the magic ingredient that gives scones their signature crumb: cold butter. Make sure your 1 1/2 sticks (170 grams) of unsalted butter are truly cold – I even like to pop mine in the freezer for about 15 minutes before cubing it. Add the cold, cubed butter to the dry ingredients. Using a pastry blender, two knives, or your fingertips, cut the butter into the flour mixture until it resembles coarse crumbs with some pea-sized pieces of butter still visible. These little butter pockets will melt in the oven, creating steam that helps the scones puff up and become wonderfully flaky. Don’t overwork this step; we want those distinct butter pieces.
2. Incorporating the Wet Ingredients
In a separate small bowl, lightly whisk together 1 cup (237 grams) of buttermilk, one of the large eggs, and 1 teaspoon of vanilla extract. Now, create a well in the center of your dry ingredients and pour in the buttermilk mixture. Gently stir with a fork or a rubber spatula until just combined. It’s important *not* to overmix at this stage. The dough will look shaggy and slightly sticky, and that’s exactly what we want. Overmixing develops the gluten in the flour too much, leading to tough scones. Just mix until there are no dry streaks of flour left.
3. Shaping and Cutting the Dough
Turn the shaggy dough out onto a lightly floured surface. Gently bring the dough together with your hands, patting it into a disk about 3/4 to 1 inch thick. Again, avoid kneading! If the dough is too sticky, you can lightly flour your hands or the surface, but try to use as little extra flour as possible. Once you have your disk, you can cut it into wedges. For classic triangle scones, use a sharp knife or a bench scraper to cut the disk into 8 equal wedges, like a pizza. You can also use a biscuit cutter (about 2-3 inches in diameter) to create round scones. If you use a cutter, gently press it straight down without twisting; twisting can seal the edges and prevent a good rise. Reworking the scraps as little as possible is key for tender scones.
4. Baking to Golden Perfection
Preheat your oven to 400°F (200°C). Line a baking sheet with parchment paper. Carefully place the shaped scones onto the prepared baking sheet, leaving a little space between them. Now for the finishing touch: the topping. In a small bowl, whisk the remaining egg with a tablespoon of water to create an egg wash. Brush the tops and sides of each scone with this egg wash. This will give them a beautiful golden-brown sheen and help the coarse sugar adhere. Sprinkle generously with coarse sugar. Bake for 18-22 minutes, or until the scones are puffed up and golden brown on top and the bottoms are also nicely browned. You can test for doneness by inserting a toothpick into the center; it should come out clean.
5. Cooling and Serving
Once baked, remove the scones from the oven and transfer them to a wire rack to cool slightly. While they are absolutely delicious served warm, be careful not to burn your tongue! Let them cool for at least 10-15 minutes before indulging. The aroma alone is enough to make your mouth water. These classic scones are wonderfully versatile. Serve them with clotted cream and your favorite fruit jam for a truly traditional experience. They are also fantastic with butter, honey, or even a dollop of whipped cream. They are best enjoyed the day they are made, but any leftovers can be stored in an airtight container at room temperature for a day or two. You can also freeze them once completely cooled and reheat them in a low oven to refresh them. Enjoy the simple pleasure of a homemade classic scone!
Conclusion:
There you have it – a straightforward guide to creating the most delightful classic scones right in your own kitchen! This recipe is truly a winner because it’s incredibly forgiving, yielding perfectly tender, slightly crumbly, and wonderfully buttery results every single time. The simplicity of the ingredients means you likely have everything you need on hand for an impromptu baking session. Imagine the aroma filling your home as these bake to golden perfection!
These versatile scones are best enjoyed warm, fresh from the oven. Serve them with a generous dollop of clotted cream and your favorite fruit jam for the quintessential afternoon tea experience. They also make a fantastic accompaniment to a hot cup of coffee or a hearty breakfast. Don’t be afraid to experiment! Consider adding a handful of fresh berries, a sprinkle of cinnamon, or even some finely grated cheddar cheese for a savory twist. I truly encourage you to give this classic scones recipe a try; you won’t regret it!
Frequently Asked Questions:
What makes a scone crumbly vs. cakey?
The key to achieving a tender, crumbly scone lies in the handling of the dough. Overmixing develops gluten, which leads to a tougher, cakey texture. It’s essential to mix the wet and dry ingredients until just combined, and then handle the dough gently when shaping. Using cold butter cut into small pieces also helps create flaky layers.
Can I make the dough ahead of time?
Yes, you can! You can prepare the dough, shape the scones, and then refrigerate them on a baking sheet. Once chilled, you can cover them tightly with plastic wrap. They will keep in the refrigerator for up to 24 hours. Bake them directly from the fridge, adding a few extra minutes to the baking time.
Classic Scones
A timeless recipe for light and tender classic scones, perfect for breakfast or afternoon tea. These scones are subtly sweet and incredibly versatile.
Ingredients
-
3 cups all-purpose flour, (measured correctly)
-
1/3 cup granulated sugar
-
1 teaspoon fine sea salt
-
1 tablespoon baking powder
-
1/2 teaspoon baking soda
-
1 1/2 sticks unsalted butter, (cold and cubed)
-
1 cup buttermilk
-
2 large eggs, (divided)
-
1 teaspoon vanilla extract
-
Coarse sugar, (for topping)
Instructions
-
Step 1
Preheat oven to 400°F (200°C). Line a baking sheet with parchment paper. -
Step 2
In a large bowl, whisk together flour, sugar, salt, baking powder, and baking soda. -
Step 3
Cut in the cold butter using a pastry blender or your fingertips until the mixture resembles coarse crumbs with some pea-sized pieces of butter remaining. -
Step 4
In a separate bowl, whisk together buttermilk, 1 large egg yolk (reserve the white), and vanilla extract. Pour the wet ingredients into the dry ingredients and mix until just combined. Do not overmix. -
Step 5
Turn the dough out onto a lightly floured surface and gently pat it into a 1-inch thick circle. Cut into 8 wedges. -
Step 6
Place the scones on the prepared baking sheet. Whisk the reserved egg white with a tablespoon of water and brush over the scones. Sprinkle with coarse sugar. -
Step 7
Bake for 15-18 minutes, or until golden brown and cooked through. Let cool slightly on a wire rack before serving.
Important Information
Nutrition Facts (Per Serving)
It is important to consider this information as approximate and not to use it as definitive health advice.
Allergy Information
Please check ingredients for potential allergens and consult a health professional if in doubt.